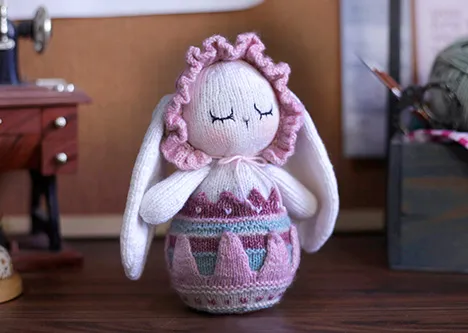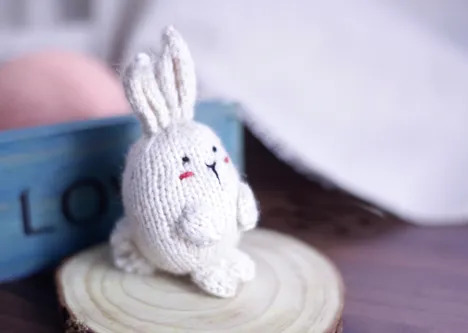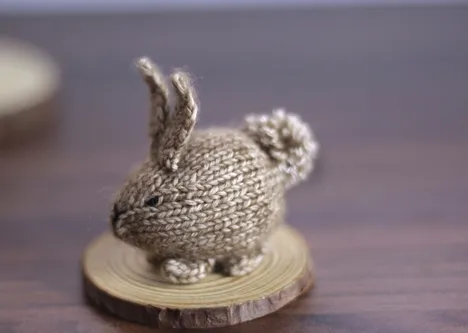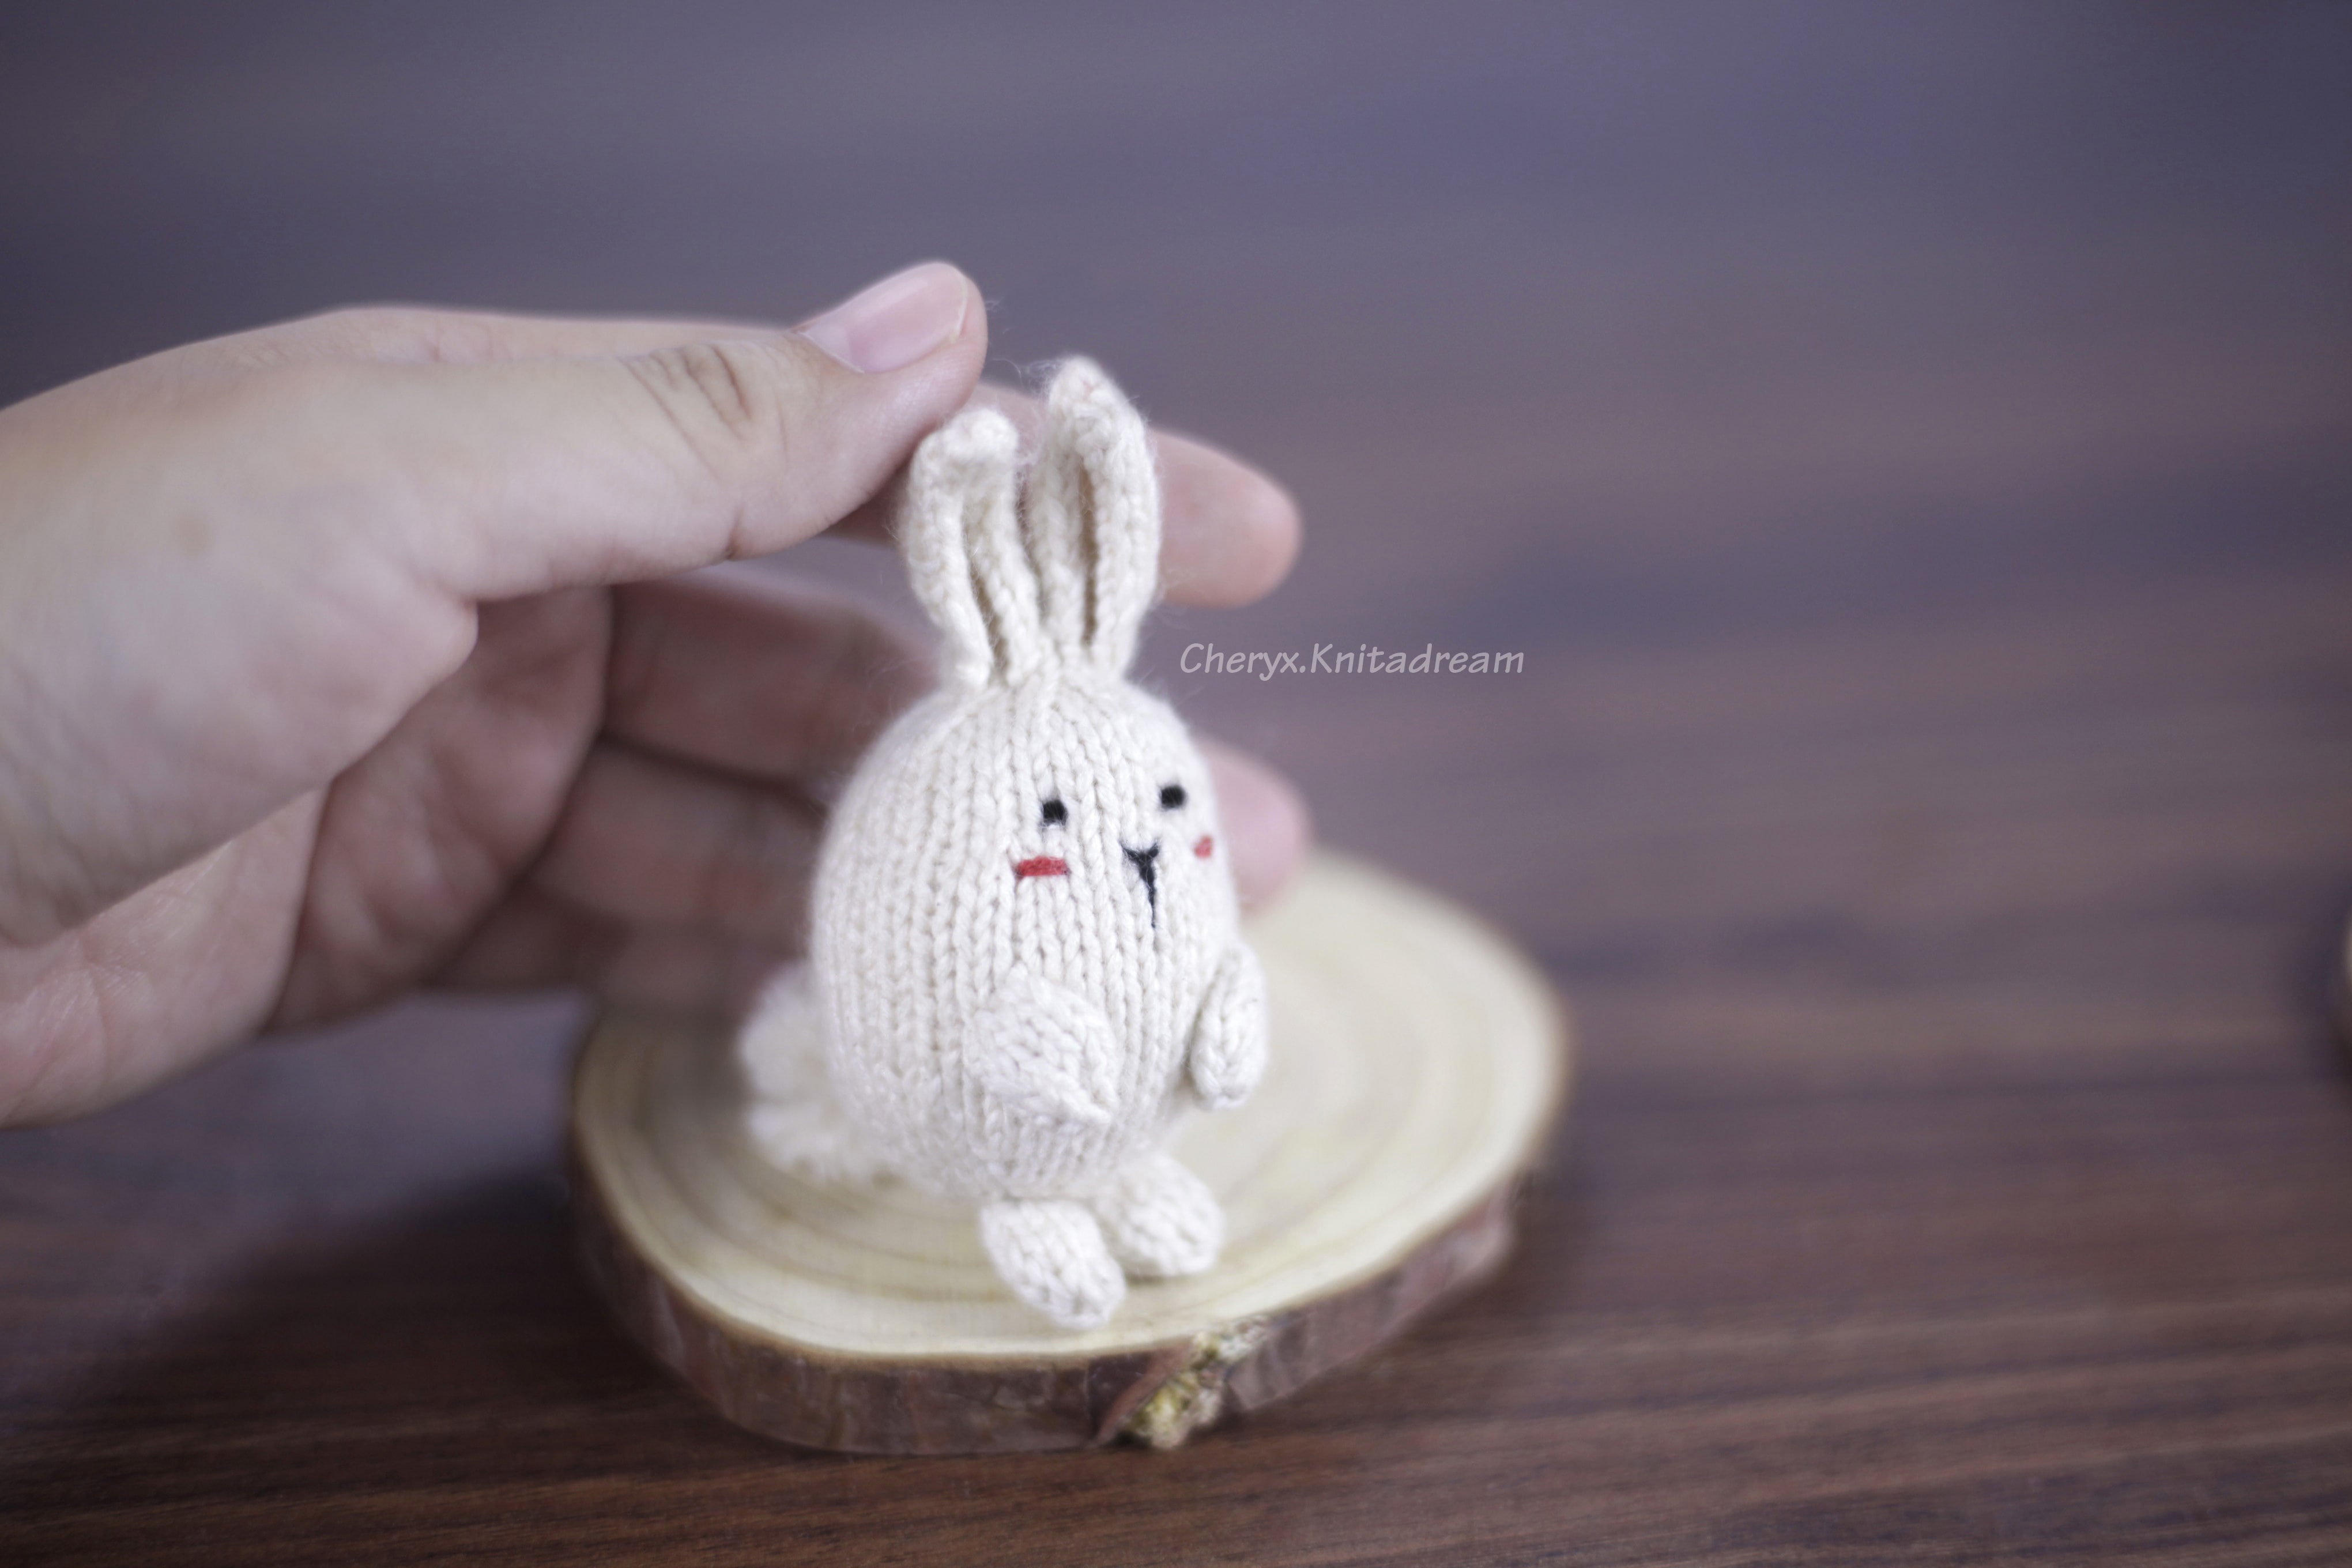
A tiny knitted bunny for keychain / keyring. It takes an hour to complete. It's a knitting pattern easy for the beginner.
In this pattern, I will show you how to make a knitted white bunny that you can use as a decoration, a gift, or a toy for yourself or your loved ones.
You can also customize the bunny according to your preference by changing the colors or the accessories.
NEEDLES
A pair of 2.25mm straight knitting needles
MATERIALS
Toy filling (less than 10g)
Tapestry needle
Sewing pins
2 pencils (I used them to make pom-pom. You can use anything which has the same size)
YARN
Wishful bird baby of Ruyi Bird (the same as scheepjes stone washed yarn): White (01)
Jeans Yarn Art (or any yarn you want to use to embroider the eyes and cheeks): Black, Red
SIZE
Finished size: The height is 8cm (included ears), the length is 3.5cm
ABBREVIATIONS
K: Knit
P: Purl
KFB: (Increase) Knit front and back of stitch
K2tog: (Decrease) Knit two stitches together
SSK: (Decrease) Slip a stitch (as if to knit it) to the right-hand needle, slip a second stitch in the same way, slip both stitches together back to the left-hand needle and knit together through the back loops.
st(s): Stich(es)
Stocking Stich (St st): Knit all stitches on right side rows, purl all stitches on wrong side rows.
(...sts): The number in round brackets at the end of the instruction indicates the number of stitches after working the row.
[...] : Repeat the sequence between the square brackets by the number indicated.
KNITTING PATTERN
HEAD AND BODY (Make 1)
Cast on 8 stitches in white, leaving a long tail for sewing.
Row 1: K1, KFB x6, K1 (14 sts)
Row 2: P14 (14 sts)
Row 3: K1, [K1, KFB] x6, K1 (20 sts)
Row 4: P20 (20 sts)
Row 5: K1, [K2, KFB] x6, K1 (26 sts)
Row 6: P26 (26 sts)
Row 7: K1, [K3, KFB] x6, K1 (32 sts)
Row 8 – Row 20: St St (32 sts)
Row 21: K1, [K3, K2tog] x6, K1 (26 sts)
Row 22 – Row 26: St st (26 sts)
Row 27: K1, [K2, K2tog] x6, K1 (20 sts)
Row 28: P20 (20 sts)
Row 29: K1, [K1, K2tog] x6, K1 (14 sts)
Row 30: P14 (14 sts)
Row 31: K2tog x7 (7 sts)
Leaving a long tail for sewing, then cut off the yarn. Thread this tail through remaining stitches and pull up tightly.
EARS (Make 2)
Cast on 8 stitches in white, leaving a long tail for sewing.
Row 1: K8 (8 sts)
Row 2: P8 (8 sts)
Row 3 – Row 10: St St (8 sts)
Row 11: K2, SSK, K2tog, K2 (6 sts)
Row 12: P6 (6 sts)
Row 13: K1, SSK, K2tog, K1 (4 sts)
Row 14: P4 (4 sts)
Row 15: SSK, K2tog (2 sts)
Leaving a long tail for sewing, then cut off the yarn. Thread this tail through remaining stitches and pull up tightly.
ARMS AND LEGS (Make 4 - 2 for arms and 2 for legs)
Cast on 8 stitches in white, leaving a long tail for sewing.
Row 1: K8 (8 sts)
Row 2: P8 (8 sts)
Row 3: K8 (8 sts)
Row 4: P8 (8 sts)
Row 5: K2tog x4 (4 sts)
Leaving a long tail for sewing, then cut off the yarn. Thread this tail through remaining stitches and pull up tightly.
SEWING & MAKING UP
SEW THE HEAD AND BODY
Using the cast-off tail which through remaining stitches and start sewing the side edges together, using Mattress Stitch to sewing (Sewing form A to B) (Fig. 1).
Adding stuffing as you sew, stuff them so they are fairly firm but not straining the seams (Fig. 2).


Once you are happy with the shape continue sewing the seams right up to the cast -on edge.
Then we’ll thread the tapestry needle with this long tail through the loops of the cast-on stitches and pull up tightly (I've used red to illustrate), tie off all the tails together and poke them inside body to hide. (Fig. 3 - Fig. 9).


EMBROIDER THE EYES
Thread a tapestry needle with the black yarn to embroider the eyes (Fig. 10).

ATTACH THE EARS TO THE HEAD
We’ll transfer the cast-off tail form C to D as shown in the figure (I've used red to illustrate) (Fig. 11 - Fig. 17).


We’ll adjust the ears with the help of sewing pins on the head (Fig. 18).
Then using the long tail of the ear to attach: sewing alternately through a stitch of head and a stitch of the ear (Fig. 19 - Fig. 22). Work all the way around the ear .
Once it is attached, we’ll tie off all the tails together and poke them inside body to hide.
Do the same way with the other ear (Fig. 23).


SEWING THE ARMS AND LEGS
We’ll fold the arms, legs and using Whip Stitch to sew the side edges together (I've used red to illustrate). Don’t add stuffing (Fig. 24 - Fig. 27).


ATTACT THE ARMS AND LEGS TO THE BODY.
We’ll adjust the arms and legs with sewing pins to the body (Fig. 28). Using the tapestry needle with the long tail to sew the arms and legs to the body.
Once it is attached, we’ll tie off all tails together and poke them inside body to hide.

MAKE THE POM-POM
We’ll wind white yarn around 2 pencils approx 20 times and cut off the yarns. (Fig. 29 - Fig. 31). Using a piece of light beige yarn to tie tightly in centre (Fig. 32).
Then we’ll remove it from 2 pencils, tie tightly again (Fig. 33 - Fig.34) and cut through each side of loops (Fig. 35).
Trimming to a smooth round shape (Fig.36) and sewing pom-pom to the body. (Fig. 37)


EMBROIDER THE NOSE
We’ll thread a tapestry needle with the black yarn to embroider the nose and the red yarn to embroider the red cheeks
--------------------------
Congratulation! You have found your own bunny!

✿ If you love my free patterns,tips and tutorial videos and you would like to support , you can Buy Me A Coffee. I really appreciate your support, it's my motive and I will try to do more. Thank you so much!