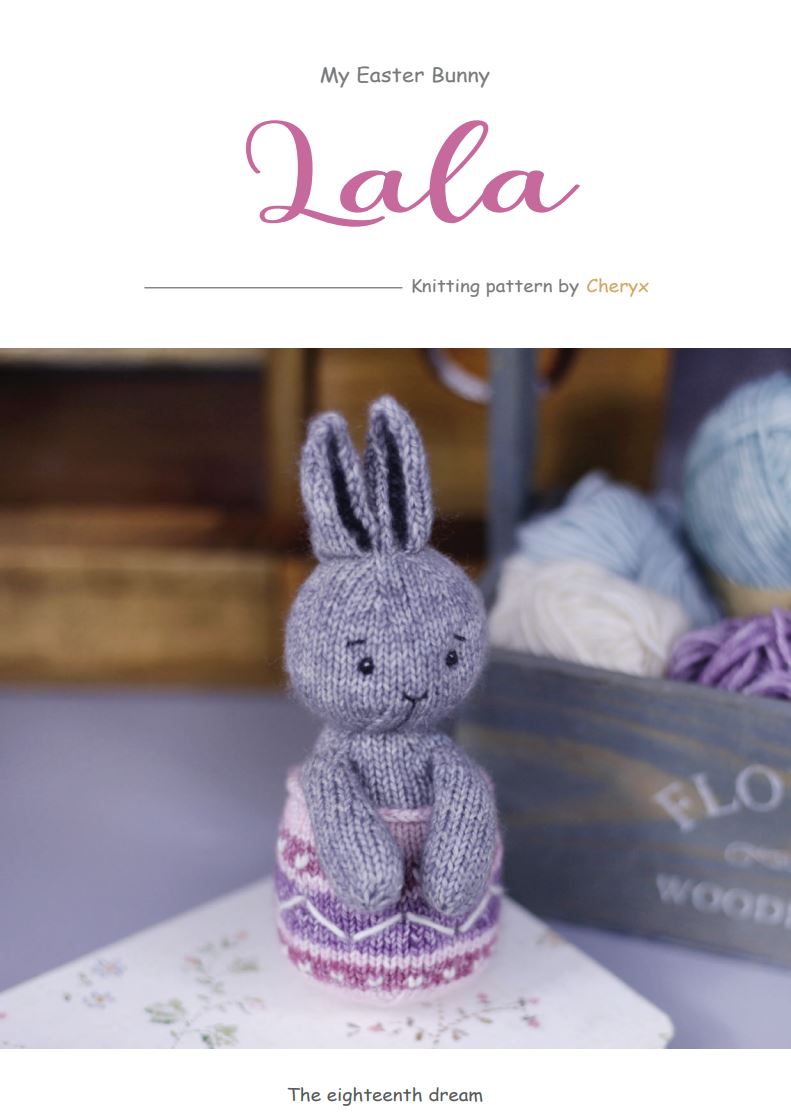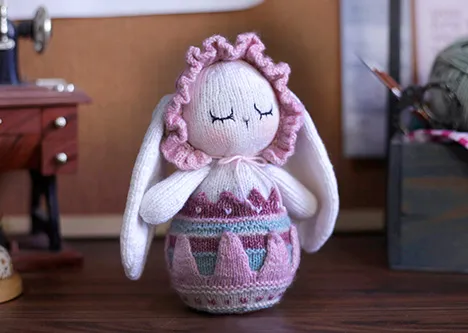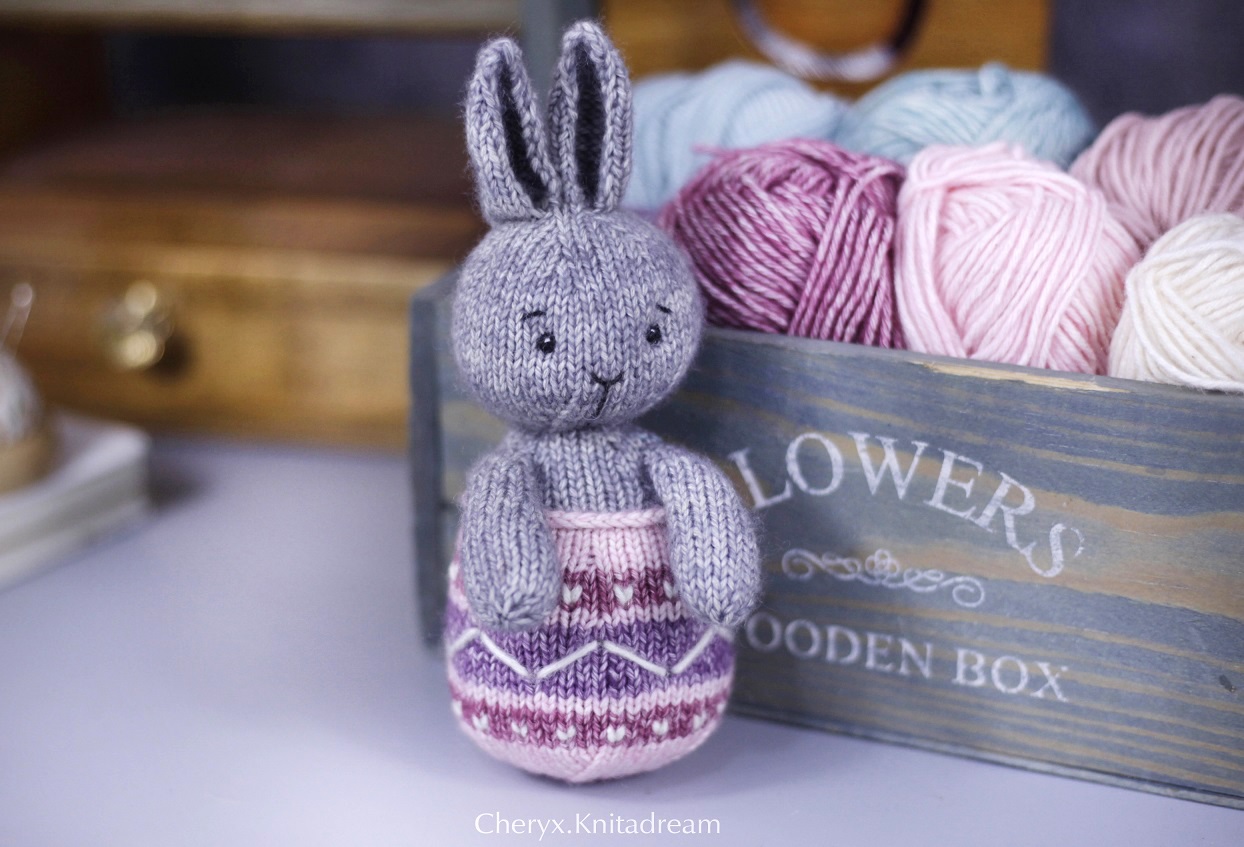
Discover the joy of crafting with Cheryx's Easter Bunny Lala knitting pattern. Perfect for beginners, this free downloadable PDF guide includes easy-to-follow instructions and photos to create a charming 16 cm bunny. Start your Easter project today!
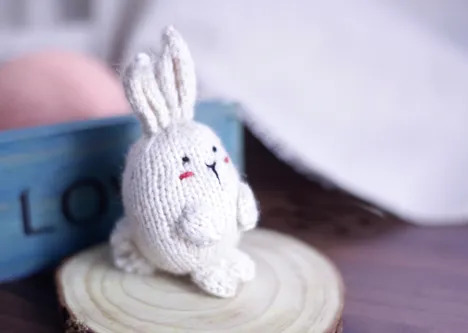
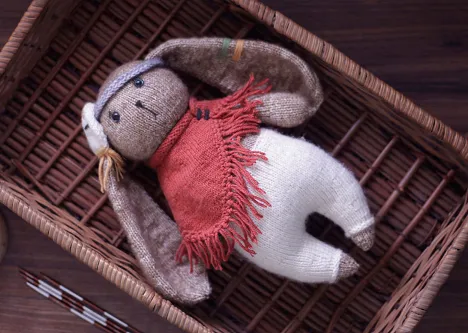
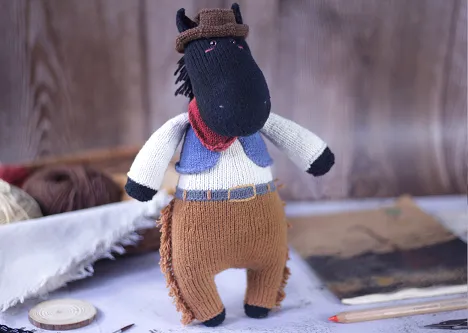
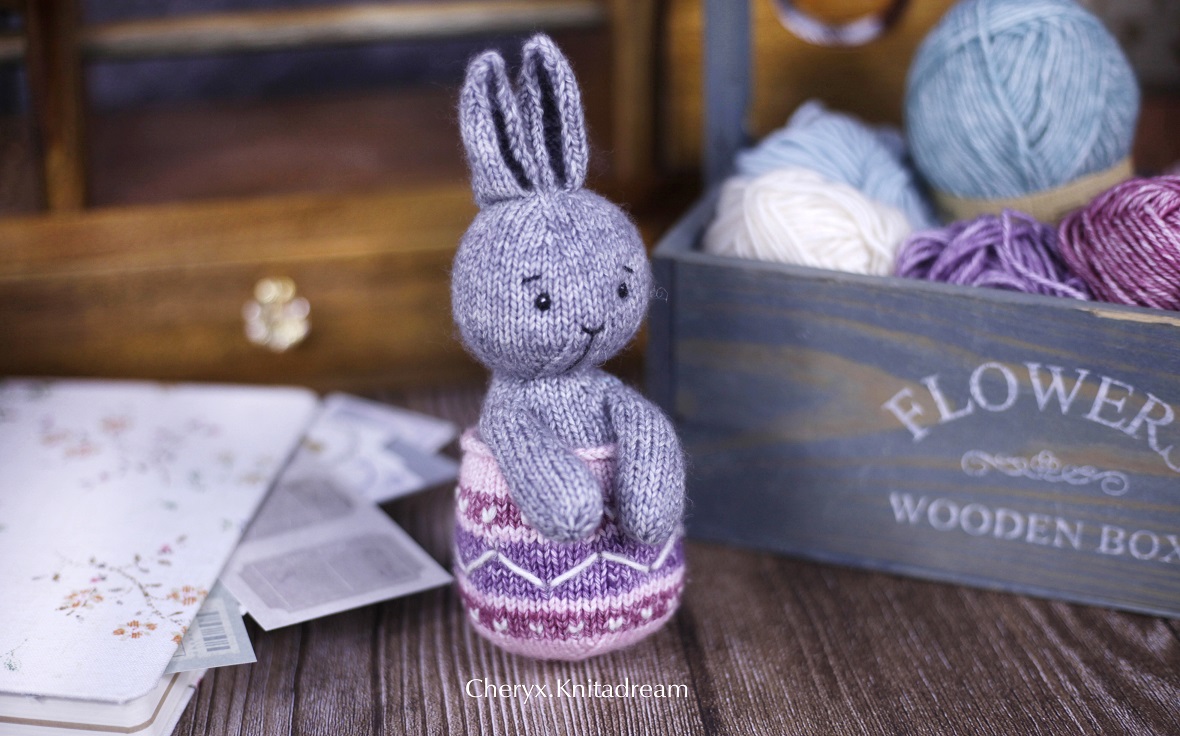
My free knitting pattern! The little bunny and eggshell ! I hope she will become your new friend on Easter!
In this post, I will show you how to make a knitted bunny and colorful egg shell that you can use as a decoration or a gift for Easter.
This toy is easy to make and requires only basic knitting skills and some yarn in different colors. Follow along with me as I guide you through the steps of making this adorable toy.
The pattern is suitable for beginners as well as advanced knitters.
You can also customize the bunny according to your preference by changing the colors or the accessories.
This free Easter Bunny knitting pattern is perfect for beginners looking to create a delightful 16 cm bunny.
Materials Needed for Your Easter Bunny
- Needles: A pair of 2.5mm straight knitting needles
- Yarn : Scheepjes Yarn Stone Washed: Gray 802, light pink 820, pink 808, Purple 811
Toy filling (less than 50g)
Tapestry needle
Scissors
Sewing pins
2 Makers
SIZE
Finished size: The finished bunny is 16cm
ABBREVIATIONS
K: Knit
P: Purl
KFB: (Increase) Knit front and back of stitch
K2tog: (Decrease) Knit two stitches together
KLL: (Increase) After working a knit stitch, identify the stitch 2 rows below the one on your right needle.With your left needle, come from behind to scoop up the left loop of this stitch. This loop on the left needle is the new stitch. Insert the right needle tip through the back loop and knit.
Stocking Stich (St st): Knit all stitches on right side rows, purl all stitches on wrong side rows.
st(s): Stich(es)
(...sts): The number in round brackets at the end of the instruction indicates the number of stitches after working the row.
(...)x... : Repeat the sequence between the square brackets by the number indicated.
Step-by-Step Instructions for the Free Knitting Pattern
Follow our step-by-step guide to complete your free Easter Bunny knitting project.
Head & Body (Knit 1)
Cast on 8 stitches with gray yarn.
Row 1: K1, KFB x6, K1 (14 sts)
Row 2: P (14 sts)
Row 3: K1, (K2, KLL) x6, K1 (20 sts)
Row 4: P (20 sts)
Row 5: K1, (K3, KLL) x6, K1 (26 sts)
Row 6: P (26 sts)
Row 7: k1, (K4, KLL) x6, K1 (32 sts)
Row 8: P (32 sts)
Row 9: K1, (K5, KLL) x6, K1 (38 sts)
Row 10: P (38 sts)
Row 11: K1, (K6, KLL) x6, K1 (44 sts)
Row 12: P (44 sts)
Row 13: K1, (K7, KLL) x6, K1 (50 sts)
Row 14 – Row 24: St st (50 sts)
Row 25: K1, (K6, K2tog) x6, K1 (44 sts)
Row 26: P (44 sts)
Row 27: K1, (K5, K2tog) x6, K1 (38 sts)
Row 28: P (38 sts)
Row 29: K1, (K4, K2tog) x6, K1 (32 sts)
Row 30: P (32 sts)
Row 31: K1, (K3, K2tog) x6, K1 (26 sts)
Row 32: P (26 sts)
Row 33: K1, (K2, K2tog) x6, K1 (20 sts)
Row 34: P (20 sts)
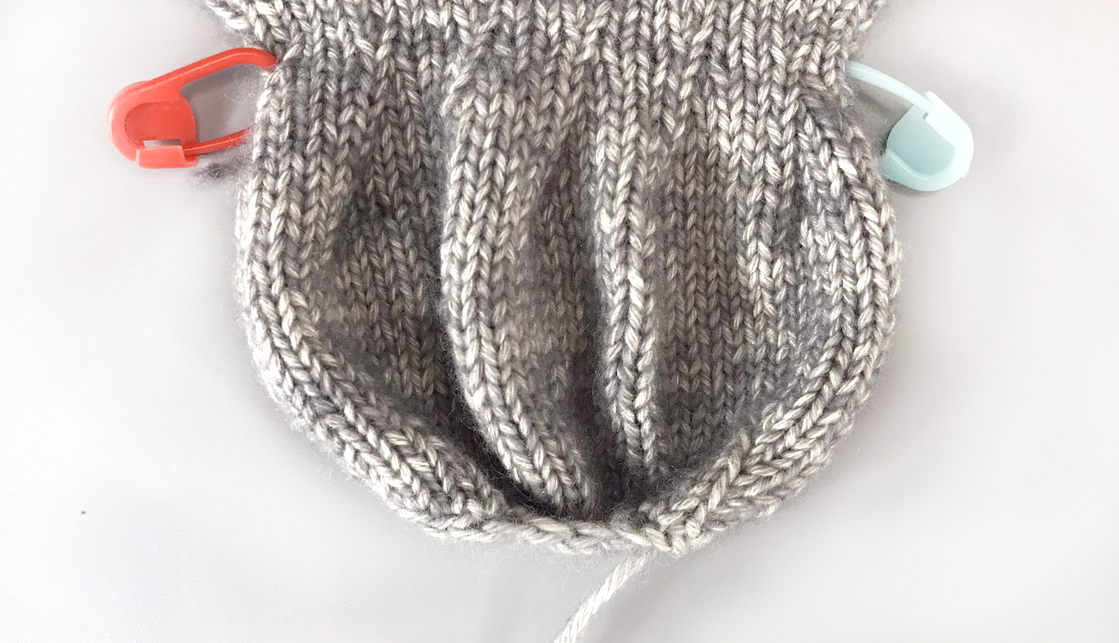
Place marker at begin and end of Row 34 (Fig. 1).
Row 35: K1, (K3, KLL) x6, K1 (26 sts)
Row 36 – Row 38: St st (26 sts)
Row 39: K1, (K4, KLL) x6, K1 (32 sts)
Row 40 – Row 42: St st (32 sts)
Row 43: K1, (K5, KLL) x6, K1 (38 sts)
Row 44 – Row 48: St st (38 sts)
Row 49: K1, (K6, KLL) x6, K1 (44 sts)
Row 50 – Row 56: St st (44 sts)
Row 57: K1, (K7, KLL) x6, K1 (50 sts)
Row 58 – Row 74: St st (50 sts)
Row 75: K1, (K6, K2tog) x6, K1 (44 sts)
Row 76: P (44 sts)
Row 77: K1, (K5, K2tog) x6, K1 (38 sts)
Row 78: P (38 sts)
Row 79: K1, (K4, K2tog) x6, K1 (32 sts)
Row 80: P (32 sts)
Row 81: K1, (K3, K2tog) x6, K1 (26 sts)
Row 82: P (26 sts)
Row 83: K1, (K2, K2tog) x6, K1 (20 sts)
Row 84: P (20 sts)
Row 85: K1, (K1, K2tog) x6, K1 (14 sts)
Row 86: P (14 sts)
Row 87: K2tog x7 (7 sts)
Leave a long tail for sewing, then cut off the yarn. Thread this tail through remaining stitches and pull up tightly.
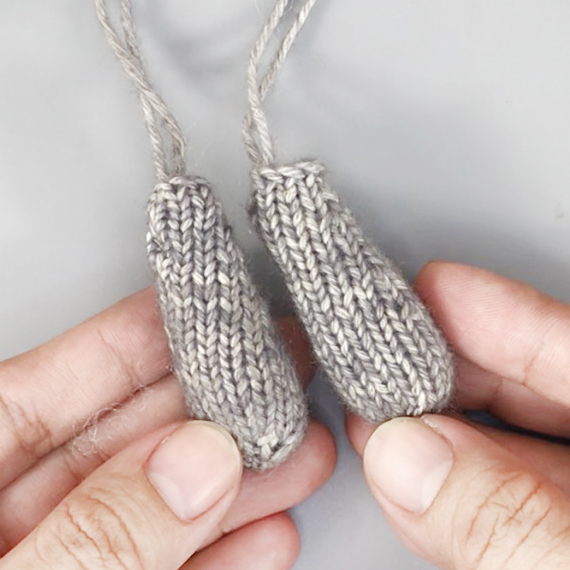
Arms (Knit 2)
Cast on 10 stitches with gray yarn.
Row 1: K (10 sts)
Row 2: P (10 sts)
Row 3 – Row 4: St st (10 sts)
Row 5: K1, (K4, KLL) x2, K1 (12 sts)
Row 6 – Row 10: St st (12 sts)
Row 11: K1, (K5, KLL) x2, K1 (14 sts)
Row 12 – Row 14: St st (14 sts)
Row 15: K1, (K6, KLL) x2, K1 (16 sts)
Row 16 – Row 22: St st (16 sts)
Row 23: K2tog x 8 (8 sts)
Leave a long tail for sewing, then cut off the yarn. Thread this tail through remaining stitches and pull up tightly.
Ears (Knit 2)
Cast on 12 stitches with gray yarn.
Row 1: K (12 sts)
Row 2: P (12 sts)
Row 3 – Row 14: St st (12 sts)
Row 15: K1, K2tog, K6, K2tog, K1 (10 sts)
Row 16: P (10 sts)
Row 17: K1, K2tog, K4, K2tog, K1 (8 sts)
Row 18: P (8 sts)
Row 19: K1, K2tog, K2, K2tog, K1 (6 sts)
Row 20: P (6 sts)
Row 21: K1, K2tog x2, K1 (4 sts)
Row 22: P (4 sts)
Row 23: K2tog x2 (2 sts)
Leave a long tail for sewing, then cut off the yarn. Thread this tail through remaining stitches and pull up tightly.
Egg shell (Knit 1)
Cast on 44 stitches with light pink yarn.
Row 1: K (44 sts)
Row 2: P (44 sts)
Row 3: K (44 sts)
Row 4: P (44 sts)
Cut light pink yarn, continue knitting with pink yarn.
Row 5: K (44 sts)
Row 6: P (44 sts)
Row 7: K1, (KLL, K7) x6, K1 (50 sts)
Row 8: P (50 sts)
Cut pink yarn, continue knitting with light pink yarn.
Row 9: K (50 sts)
Row 10: P (50 sts)
Cut light pink yarn, continue knitting with purple yarn.
Row 11: K1, (KLL, K8) x6, K1 (56 sts)
Row 12 – Row 18: St st (56 sts)
Cut purple yarn, continue knitting with light pink yarn.
Row 19: K (56 sts)
Row 20: P (56 sts)
Cut light pink yarn, continue knitting with pink yarn.
Row 21 – Row 24: St st (56 sts)
Cut pink yarn, continue knitting with light pink yarn.
Row 25: K (56 sts)
Row 26: P (56 sts)
Row 27: K1, (K7, K2tog) x6, K1 (50 sts)
Row 28: P (50 sts)
Row 29: K1, (K6, K2tog) x6, K1 (44 sts)
Row 30: P (44 sts)
Row 31: K1, (K5, K2tog) x6, K1 (38 sts)
Row 32: P (38 sts)
Row 33: K1, (K4, K2tog) x6, K1 (32 sts)
Row 34: P (32 sts) Row 35: K1, (K3, K2tog) x6 (26 sts)
Row 36: P (26 sts)
Row 37: K1, (K2, K2tog) x6 (20 sts)
Row 38: P (20 sts)
Row 39: K1, (K1, K2tog) x6 (14 sts)
Row 40: P (14 sts) Row 41: K2tog x7 (7 sts)
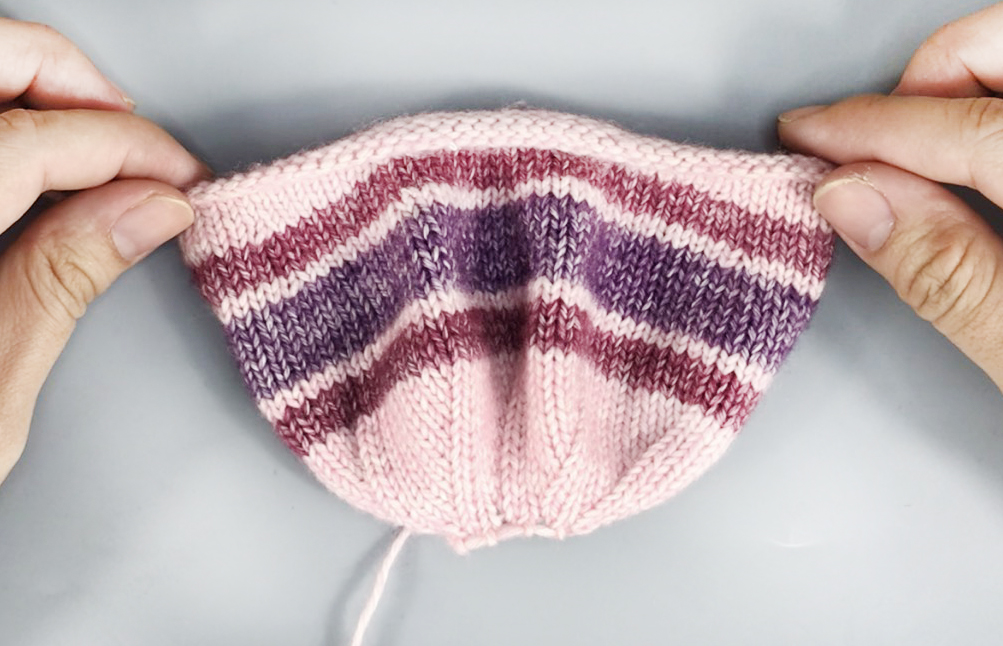
Leave a long tail for sewing, then cut off the yarn. Thread this tail through remaining stitches and pull up tightly (Fig. 2).
SEW & MAKE UP
Head & Body
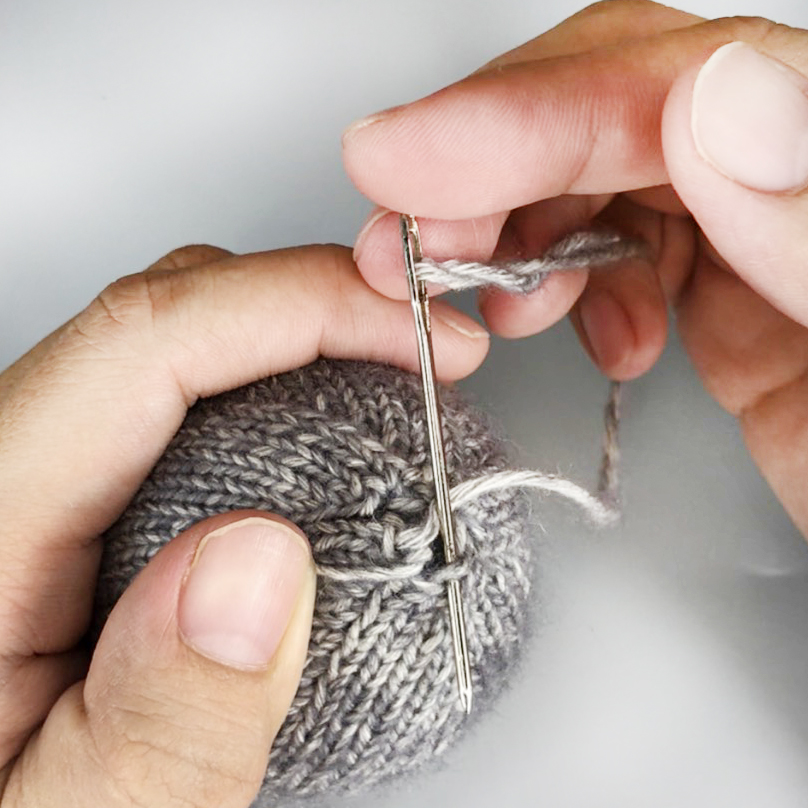
In the row 34 which we put 2 markers, using the gray yarn (about 9 inch) and the tapestry needle to thread this yarn through a few stitches as shown in the figures (Fig. 3 - Fig. 5).
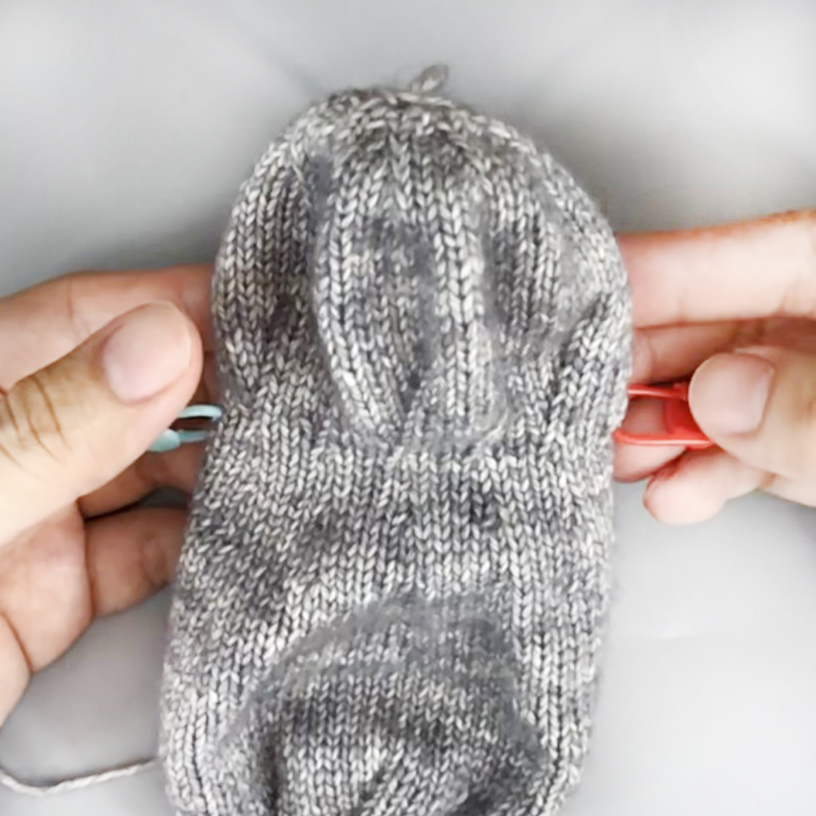
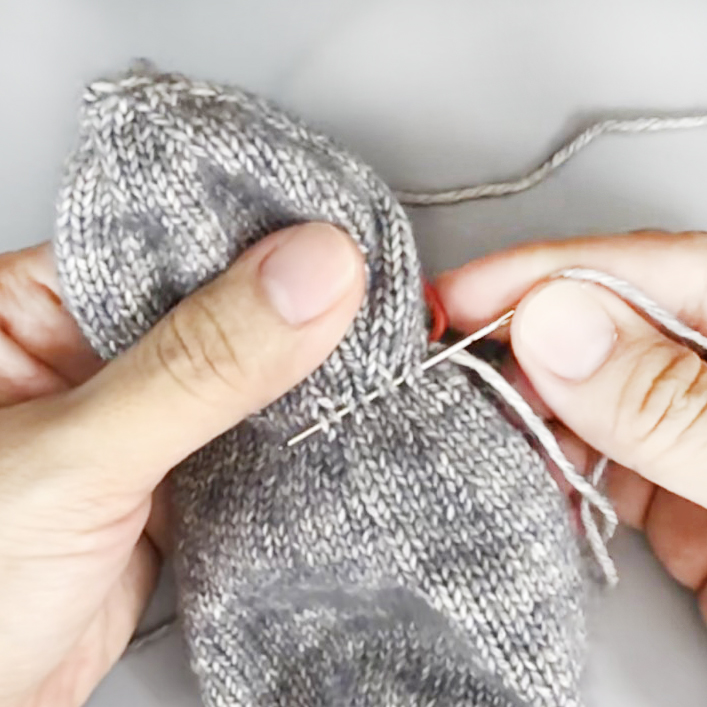
Using the tapestry needle with cast off tail to sew the side edges together, using the Mattress Stitch (Sew from A to B).
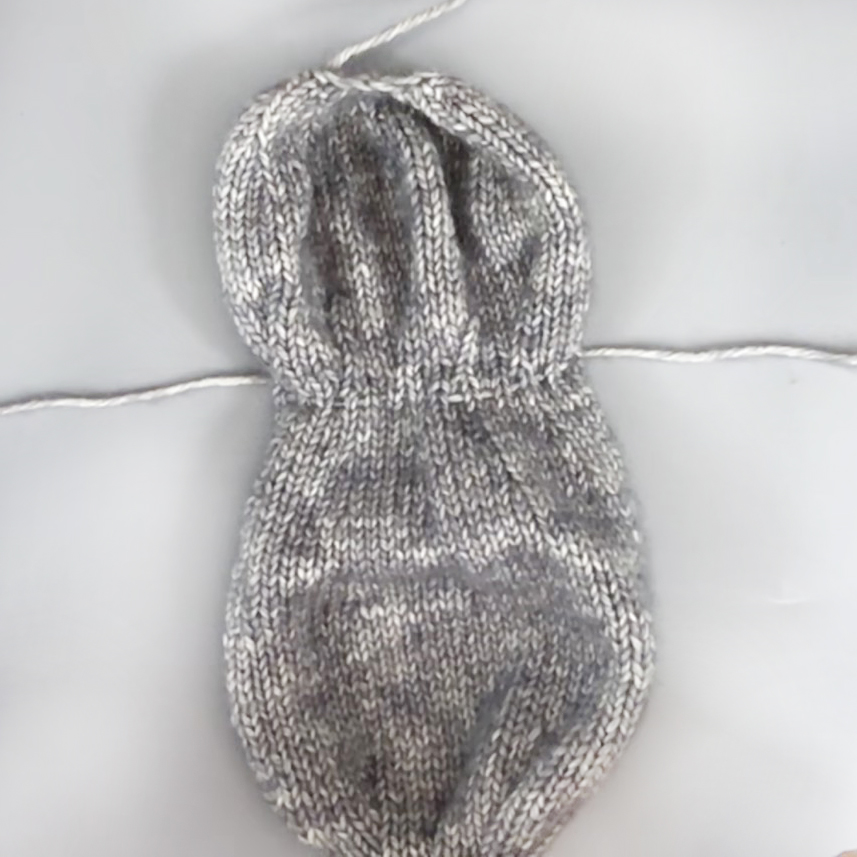
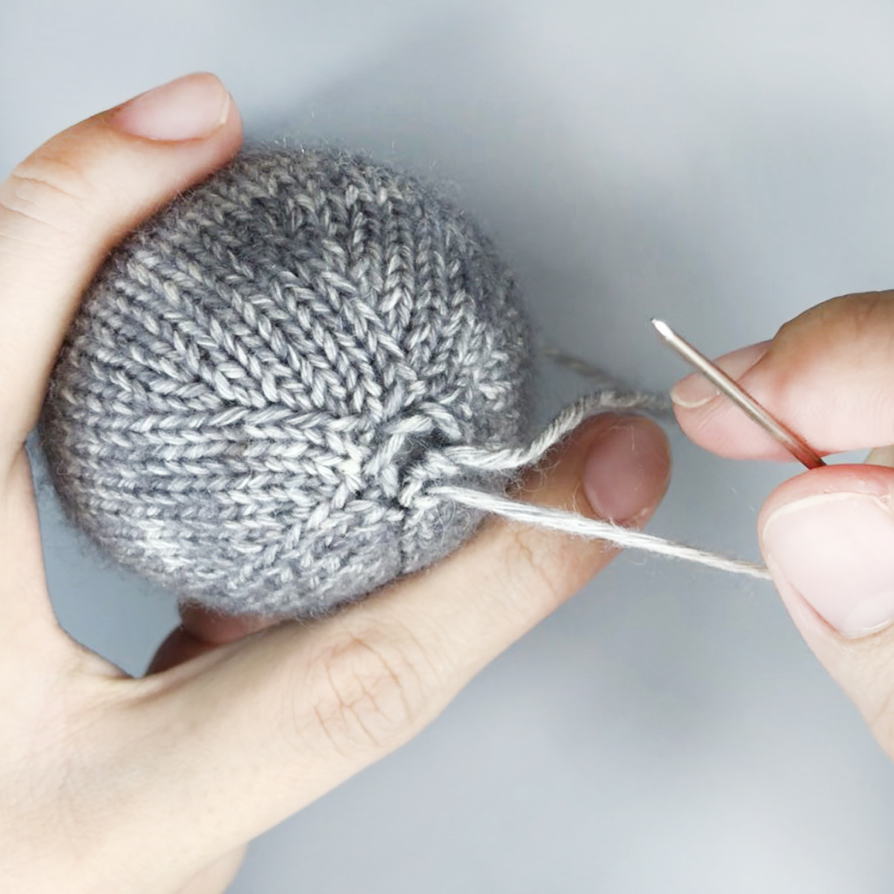
Adding stuffing as you sew. On the open end, thread your yarn through the loops of the cast on stitches and pull it together to close the opening (Fig. 6 - Fig. 9).
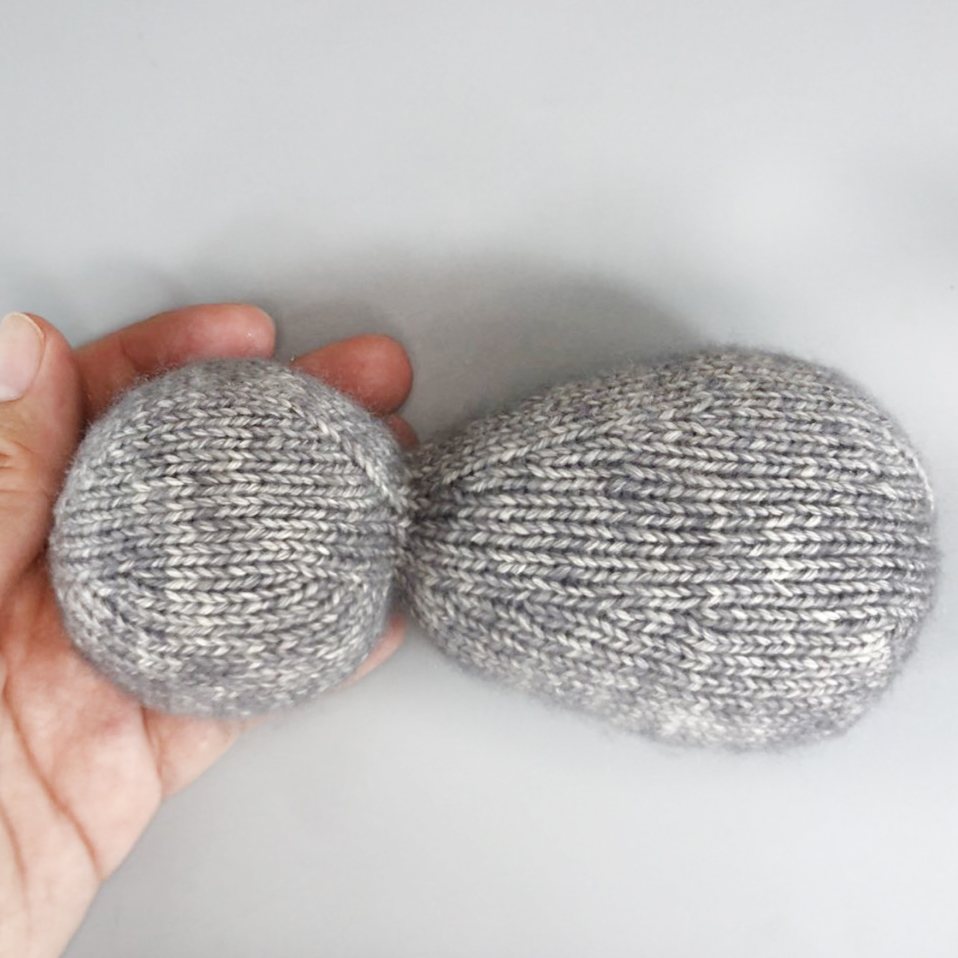
When finished, we will tie off all the tails together and poke them into body to hide.

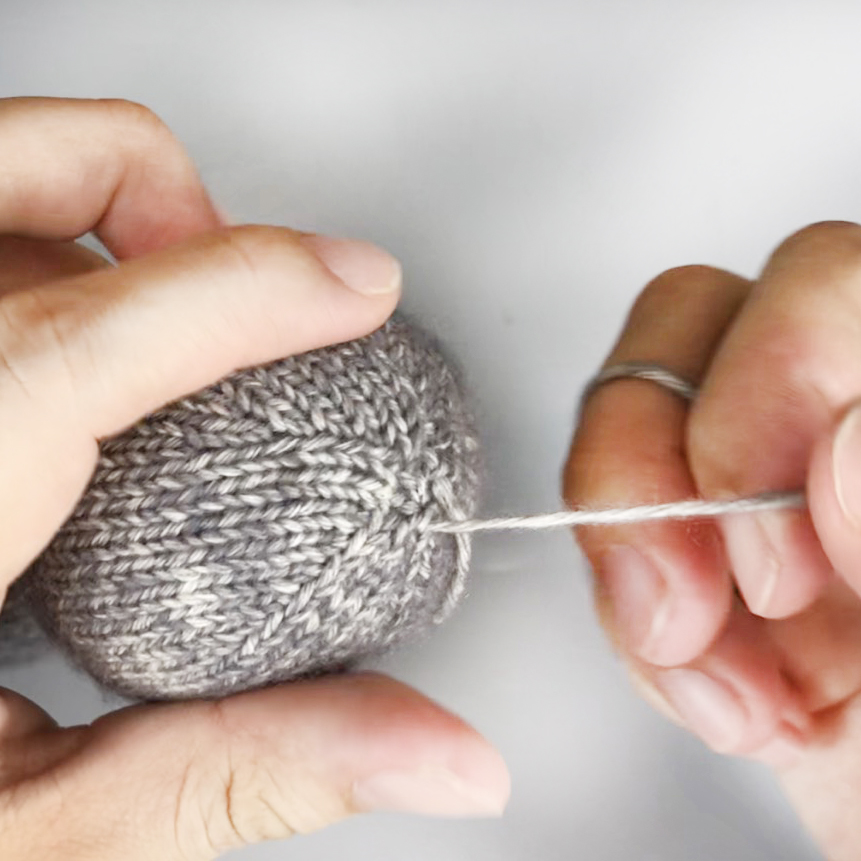
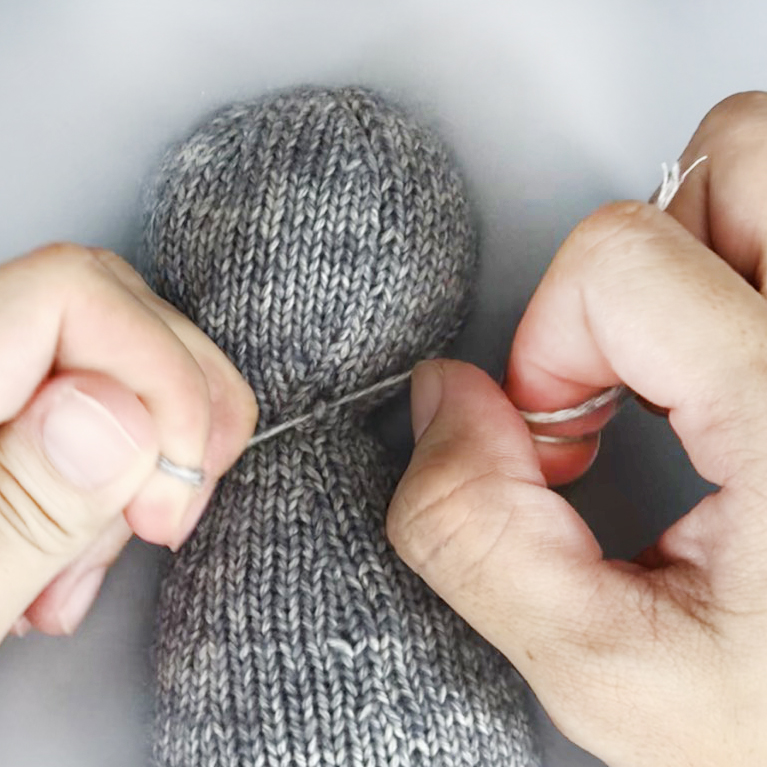
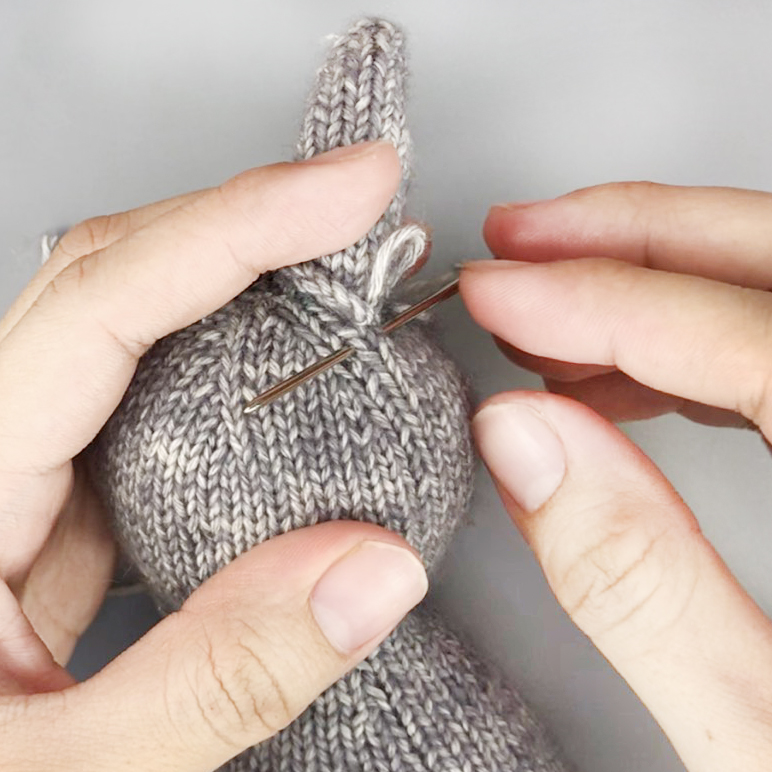
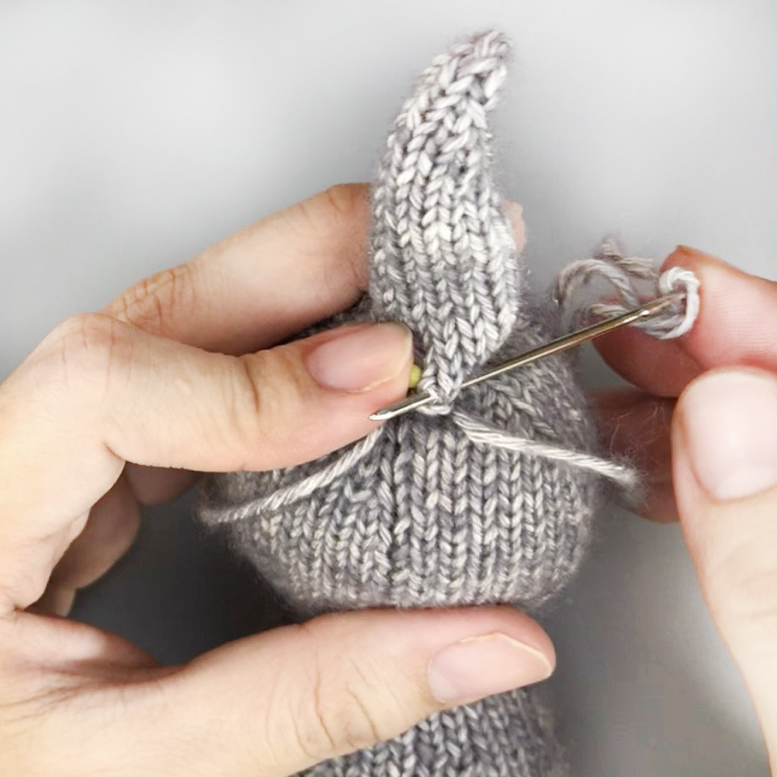
To shape the neck, pull up 2 tails tightly, then we will tie off them together and poke inside the body to hide (Fig. 10 - Fig. 11).
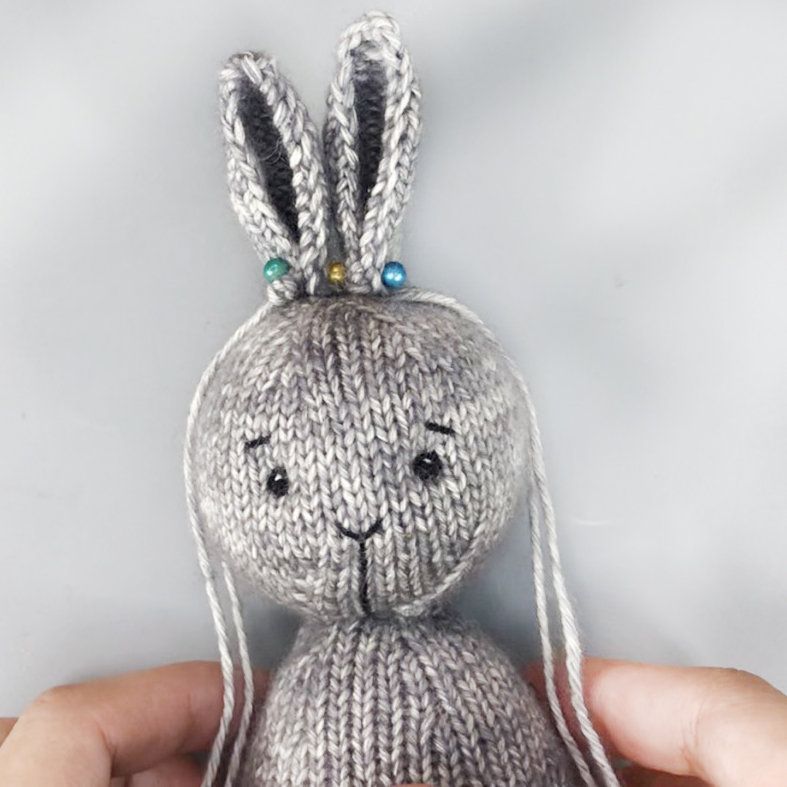
Embroider the face
Using black yarn to embroider the eyes, nose & eyebrows
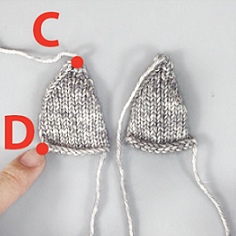
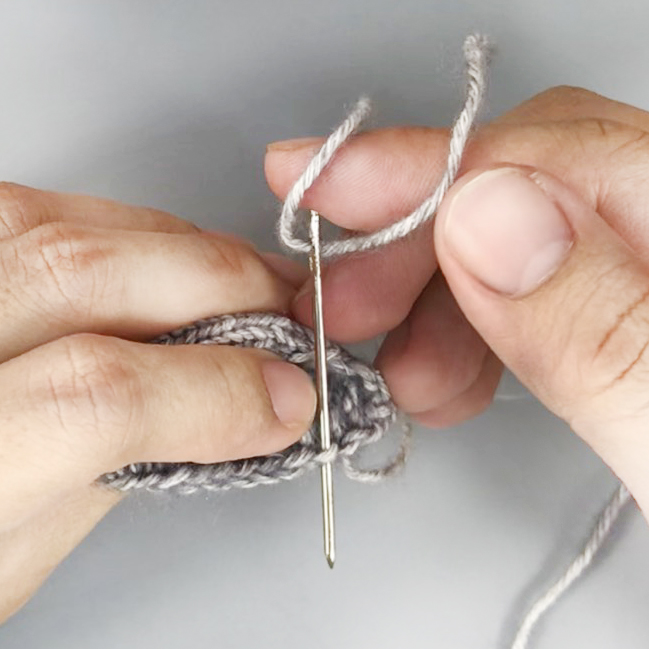
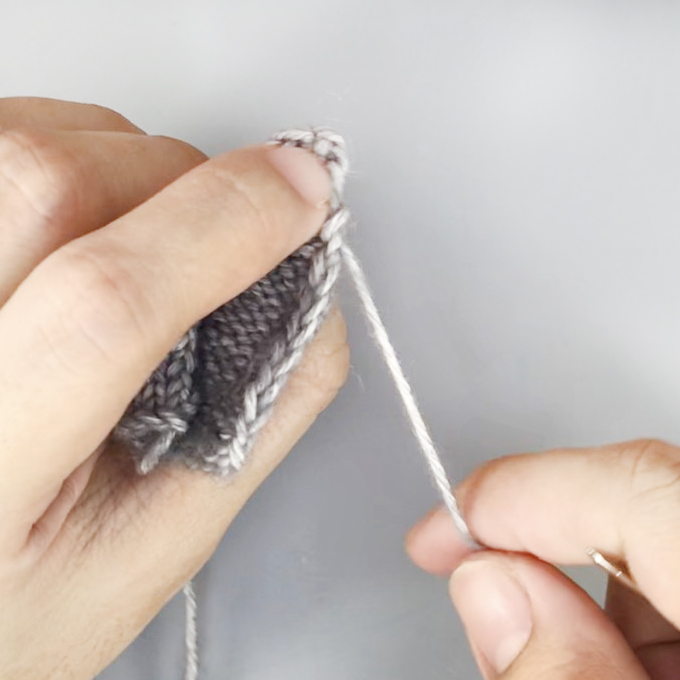
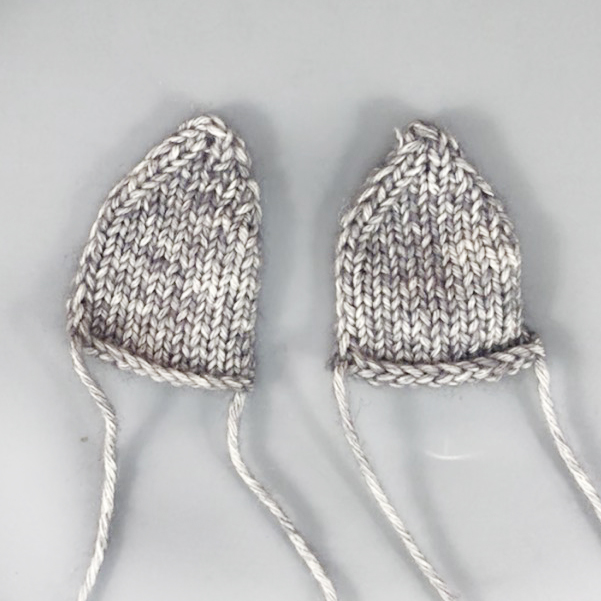
Ears
We will use the tapestry needle with cast off tail through the the stitches of side edge to transfer this tail from C to D (Fig. 24 - Fig. 27).
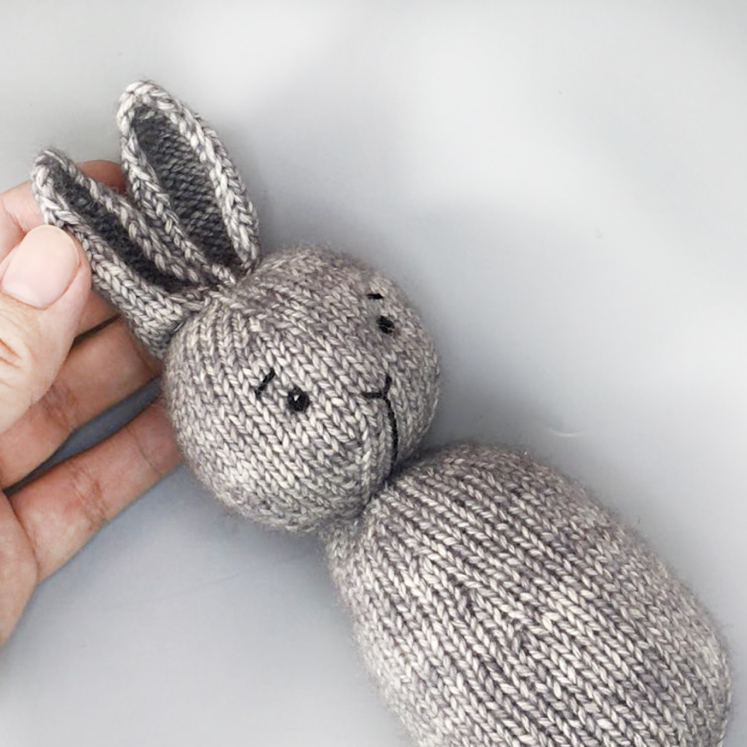
Using the sewing pins to adjust the ears into the head (Fig. 28). Then using a long tail to attact (sewing through a stitch of the head (Fig. 29) and then through a stitch of the ear (Fig. 30)) . When finished, hiding all tails inside the head (Fig. 31).
Arms
We’ll fold the arm and use the tapestry needle with cast off tail to sew the side edges together with Mattress Stitch. Halfway along the seam, we will stop and lightly stuff the arm, leave the top of arm unstuffed so it stays floppy.
Continue sewing to the cast on edge, tie off 2 tails together. Repeat with the second arm (Fig. 32).
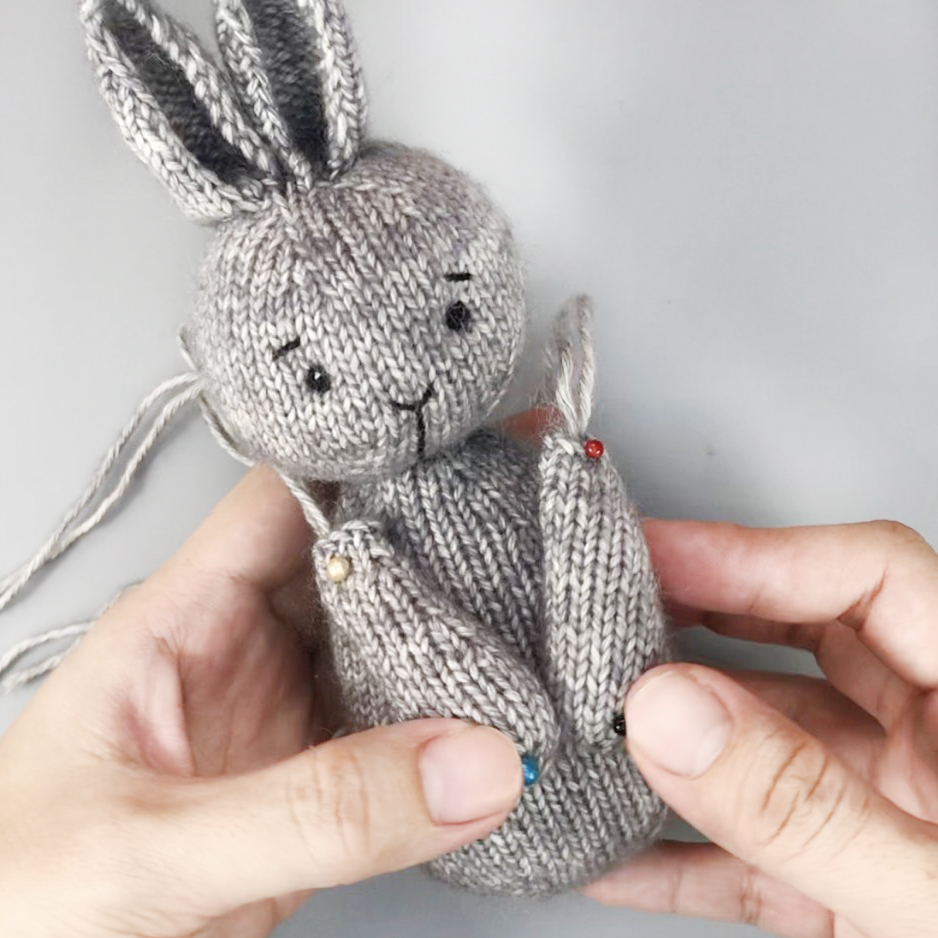
Using the sewing pins to adjust the arms to the body. Then using a long tail to sew the arms into the body. When finished, hiding all tails inside the body (Fig. 33).
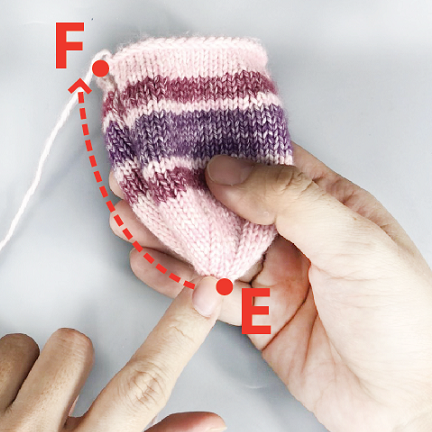
Eggshell
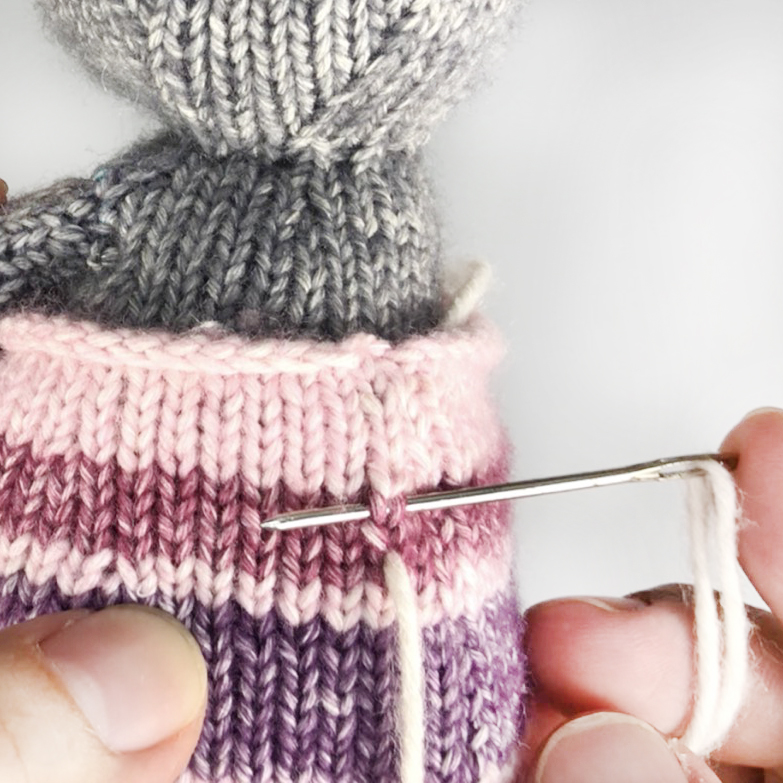
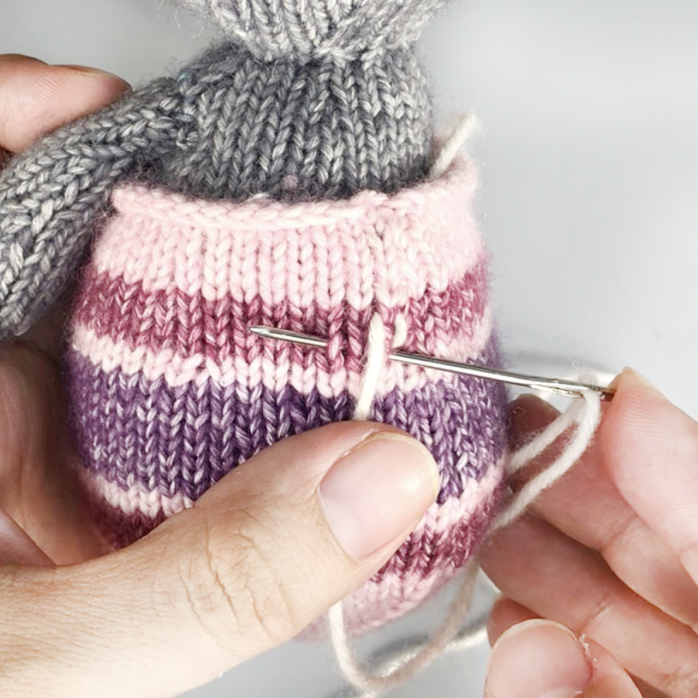
Using the tapestry needle with cast off tail to sew the side edges together (Sew from E to F) (Fig. 34).
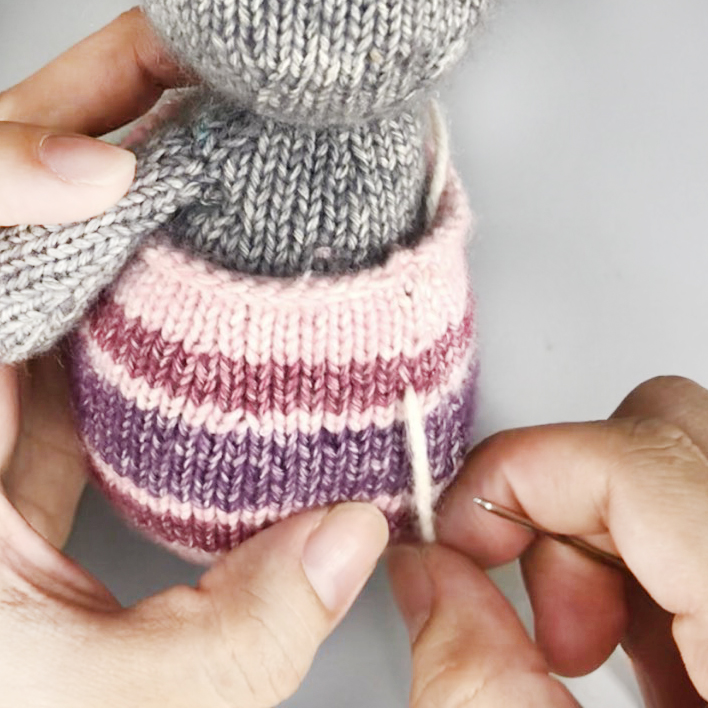
Using white yarn to embroider the eggshell (Fig. 35 - Fig. 39).
- - - - - - - - - - - - - - - - - - - - - - - - - - - - - - - - - - - - - - - - - - - - - - - - - -
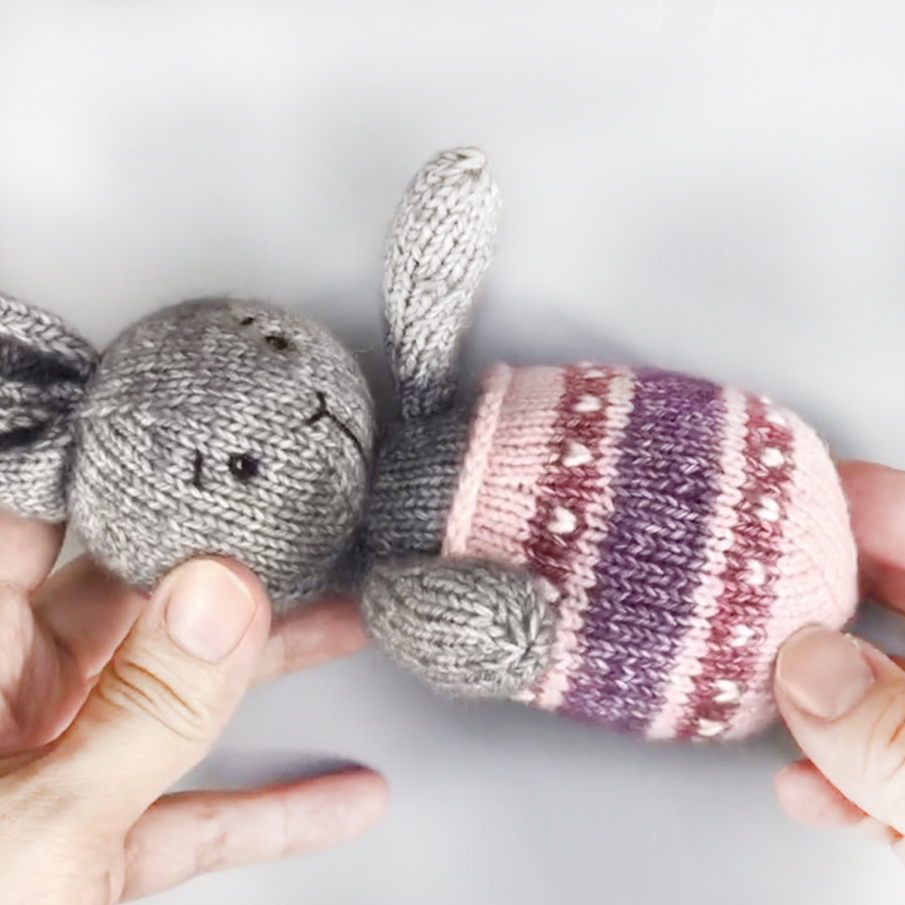
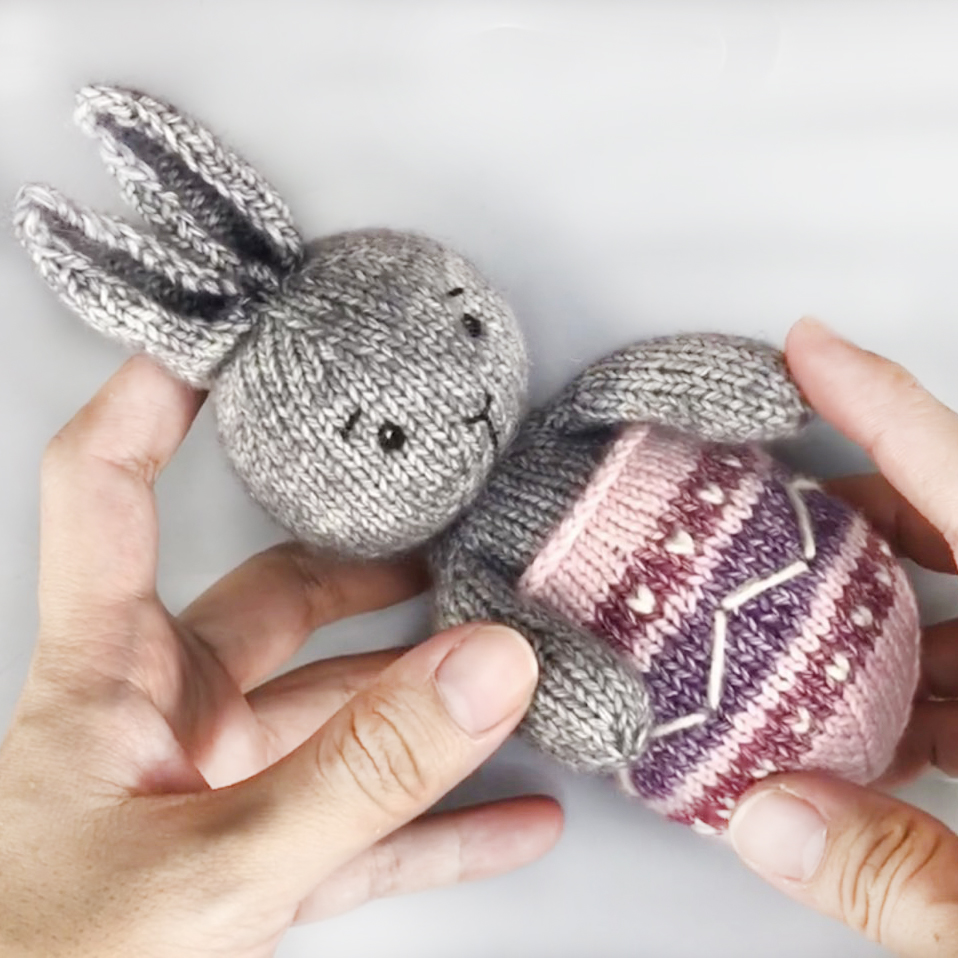
Congratulation!
You have found your own bunny egg!
✿ If you love my free patterns,tips and tutorial videos and you would like to support , you can Buy Me A Coffee. I really appreciate your support, it's my motive and I will try to do more. Thank you so much!