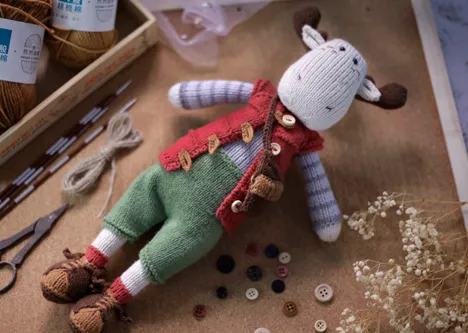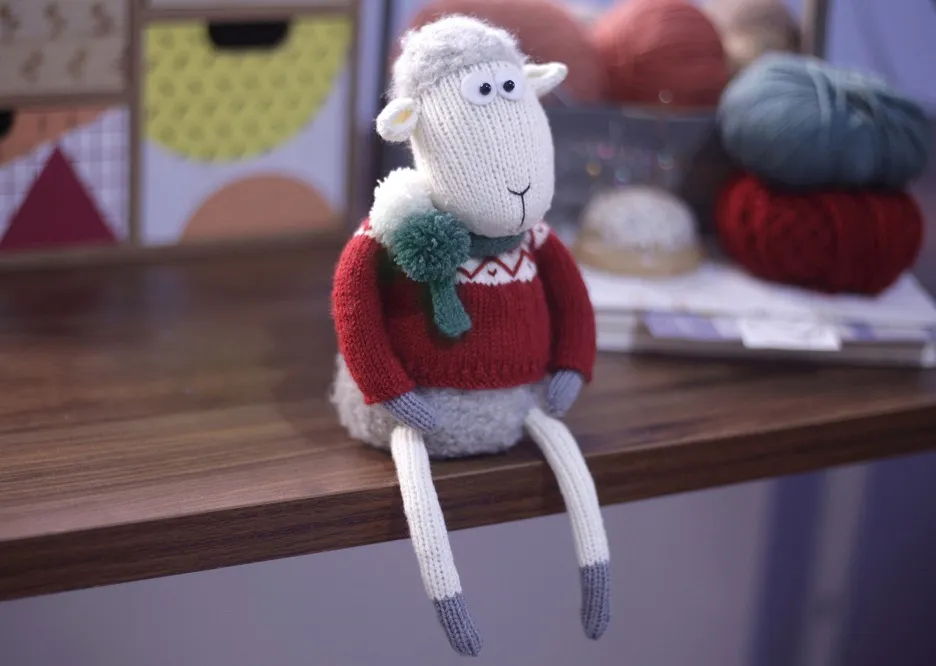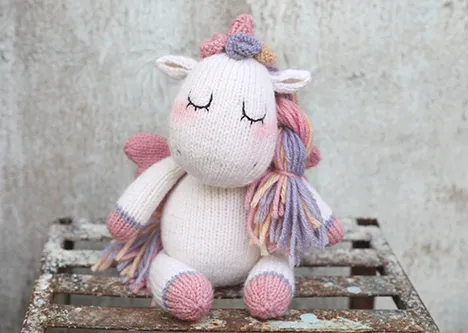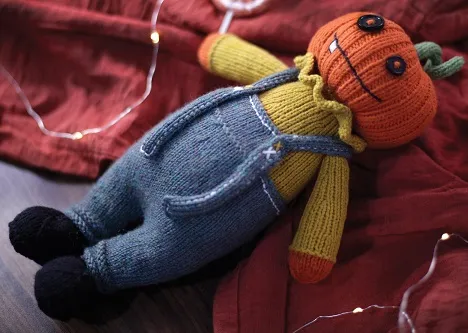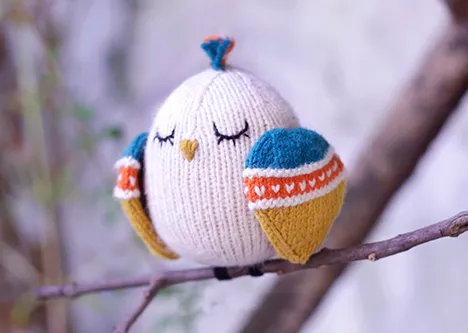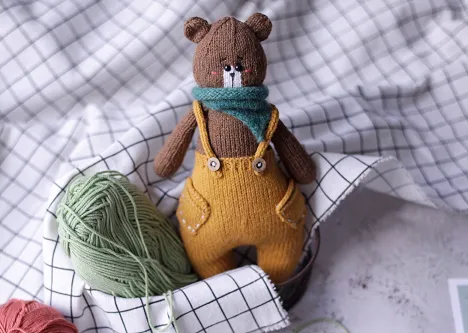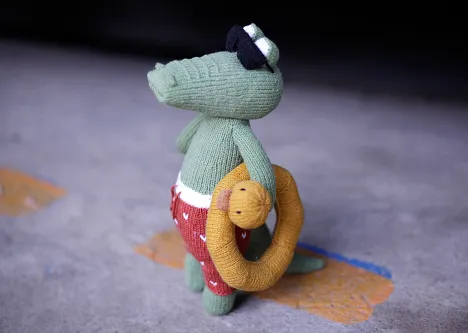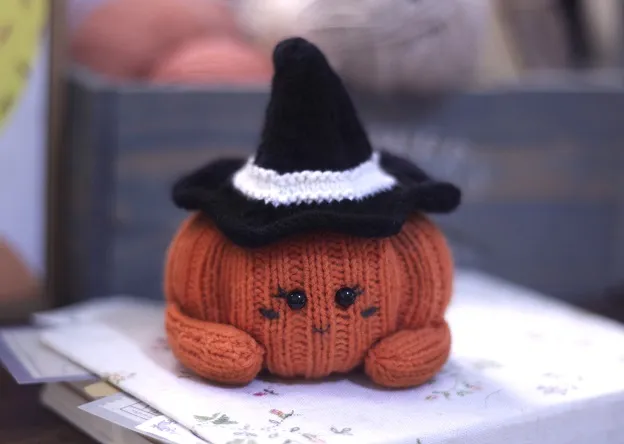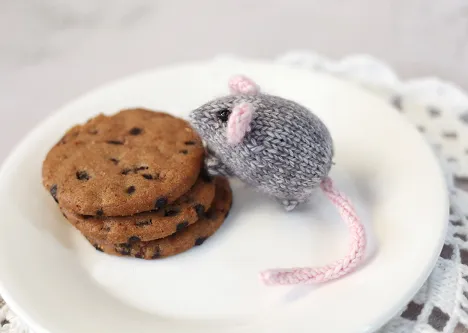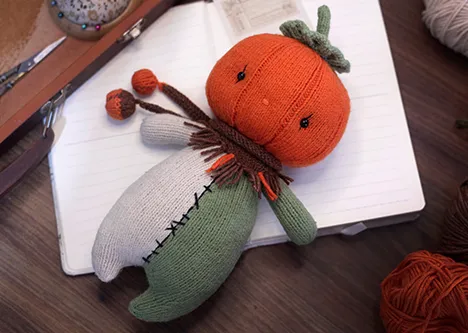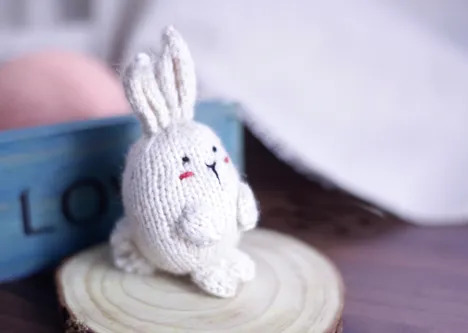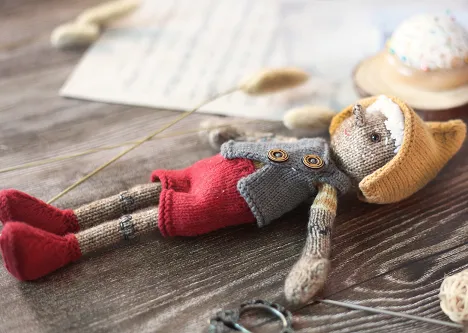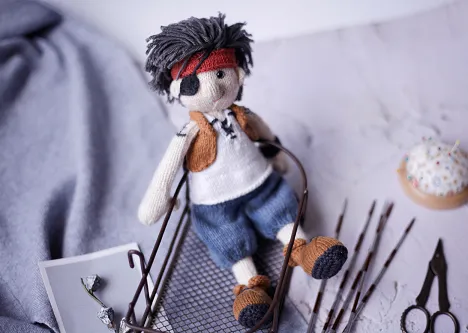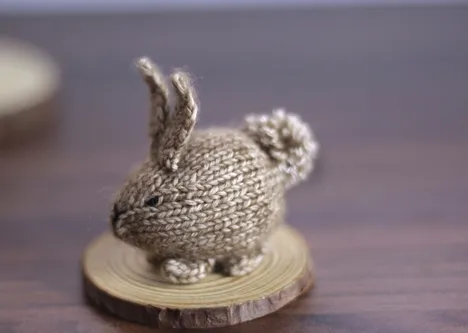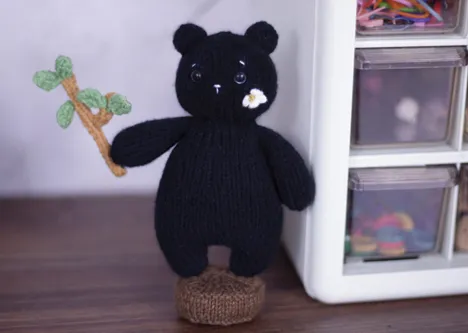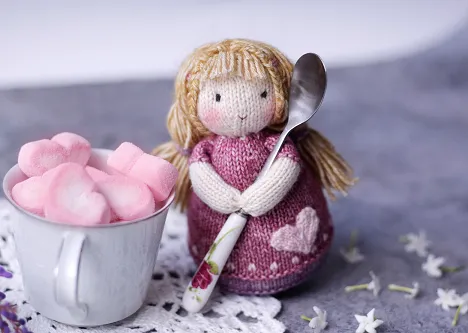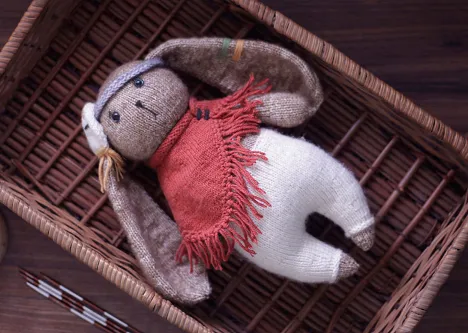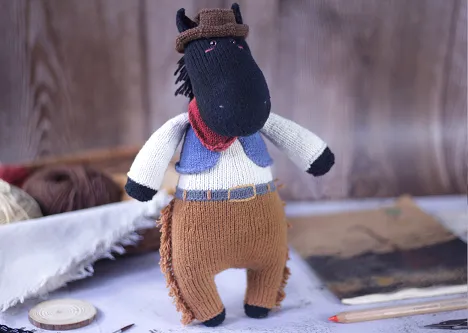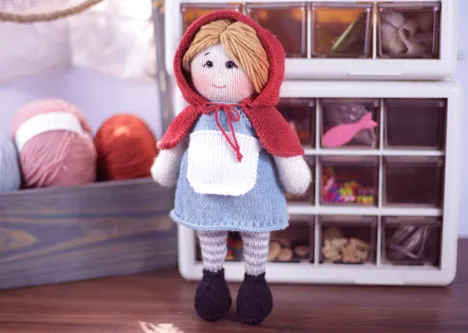
Are you looking for a fun and easy knitting project that will brighten up your day? Do you love colorful and cute birds that will make you smile? If so, you will love this free knitting pattern for a colorful bird!
This pattern is perfect for beginners and experienced knitters alike, as it uses simple stitches and techniques to create a charming and adorable bird. You can use any yarn and colors you like, and customize your bird with different features and accessories.
The pattern includes detailed instructions, photos to guide you through every step of the process. The colorful bird is a great project to use up your leftover yarn, as it only requires a small amount of yarn for each part.
You can also make several birds in different colors and sizes, and create a flock of cheerful friends. The colorful bird is ideal for decorating your home, giving as a gift, or playing with your kids.
Ready to knit your own colorful bird? Download the free pattern now and get started!
MATERIALS
❥ A pair of 2.5mm straight knitting needles
❥ Yarn: Jeans yarnart - beige 05, orange 85, blue 63, yellow 84, black 53
❥ Other materials:
- Toy filling (less than 50g)
- Sewing needle
- Scissors
- Sewing pins
- A branch
- A crochet hook
SIZE
The finished bird is 9cm tall
KNITTING PATTERN
Body (Knit 1 )
Leave a long tail for sewing, cast on 10 stitches with beige yarn.
Row 1: K1, KFB x8, K1 (18 sts)
Row 2: P
Row 3: K1, (K2, KLL) x8, K1 (26 sts)
Row 4: P
Row 5: K1, (K3, KLL) x8, K1 (34 sts)
Row 6: P
Row 7: K1, (K4, KLL) x8, K1 (42 sts)
Row 8: P
Row 9: K1, (K5, KLL) x8, K1 (50 sts)
Row 10: P
Row 11: K1, (K8, KLL) x6, K1 (56 sts)
Row 12 – Row 36: St st (Knit “K” all stitches on right side rows, “P” all stitches on wrong side rows)
Row 37: K1, (K7, K2tog) x6, K1 (50 sts)
Row 38 – Row 42: St st Row
43: K1, (K6, K2tog) x6, K1 (44 sts)
Row 44 – Row 46: St st
Row 47: K1, (K5, K2tog) x6, K1 (38 sts)
Row 48 – Row 50: St st
Row 51: K1, (K4, K2tog) x6, K1 (32 sts)
Row 52: P
Row 53: K1, (K3, K2tog) x6, K1 (26 sts)
Row 54: P
Row 55: K1, (K2, K2tog) x6, K1 (20 sts)
Row 56: P
Row 57: K1, (K1, K2tog) x6, K1 (14 sts)
Row 58: P
Row 59: K2tog x7 (7 sts)
Leave a long tail for sewing, then cut off the yarn. Thread this tail through remaining stitches and pull up tightly.
Wings (Knit 2)
Leave a long tail for sewing, cast on 10 stitches with blue yarn.
Row 1: K1, KFB x8, K1 (18 sts)
Row 2: P
Row 3: K1, (K2, KLL) x8, K1 (26 sts)
Row 4: P
Row 5: K1, (K3, KLL) x8, K1 (34 sts)
Row 6: P
Row 7: K1, (K4, KLL) x8, K1 (42 sts)
Row 8: P
Cut off the blue yarn, continue knitting with beige yarn.
Row 9: K (42 sts)
Row 10: K (It’s wrong side row, but knit “K”)
Cut off the beige yarn, continue knitting with orange yarn.
Row 11: K (42 sts)
Row 12 – Row 14: St st
Cut off the orange yarn, continue knitting with beige yarn.
Row 15: K (42 sts)
Row 16: K (It’s wrong side row, but knit “K”)
Cut off the beige yarn, continue knitting with yellow yarn.
Row 17: K1, K2tog, K15, K2tog, K2, K2tog, K15, K2tog, K1 (38 sts)
Row 18: P
Row 19: K1, K2tog, K13, K2tog, K2, K2tog, K13, K2tog, K1 (34 sts)
Row 20: P
Row 21: K1, K2tog, K11, K2tog, K2, K2tog, K11, K2tog, K1 (30 sts)
Row 22: P
Row 23: K1, K2tog, K9, K2tog, K2, K2tog, K9, K2tog, K1 (26 sts)
Row 24: P
Row 25: K1, K2tog, K7, K2tog, K2, K2tog, K7, K2tog, K1 (22 sts)
Row 26: P
Row 27: K1, K2tog, K5, K2tog, K2, K2tog, K5, K2tog, K1 (18 sts)
Row 28: P
Row 29: K1, K2tog, K3, K2tog, K2, K2tog, K3, K2tog, K1 (14 sts)
Row 30: P
Row 31: K1, K2tog, K1, K2tog, K2, K2tog, K1, K2tog, K1 (10 sts)
Row 32: P
Row 33: K2tog x5 (5 sts)
Leave a long tail for sewing, then cut off the yarn. Thread this tail through remaining stitches and pull up tightly.
SEWING & MAKING UP
We will sew and making up the snowman as show in this video (Using Mattress Stitch to sew)
If you enjoyed this video and found it helpful, give it a thumbs up and subscribe to my channel for more knitting tutorials. And don't forget to share your photos of your finished dolls with me on Instagram using the hashtag #Cheryx.Knitadream. I can't wait to see your creations!
------------------------------------------------------------
I hope you have a nice day with your new friend!

✿ If you love my free patterns,tips and tutorial videos and you would like to support , you can Buy Me A Coffee. I really appreciate your support, it's my motive and I will try to do more. Thank you so much!


