Hello, knitters! Welcome to my website, where I share my passion for knitting and making cute toys.
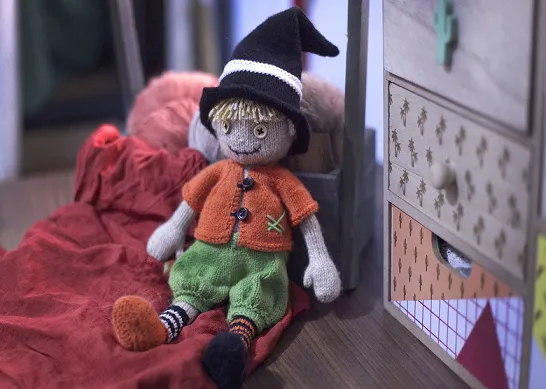
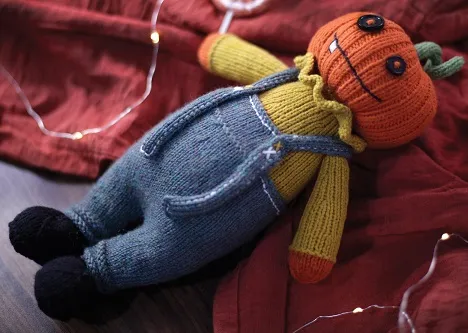
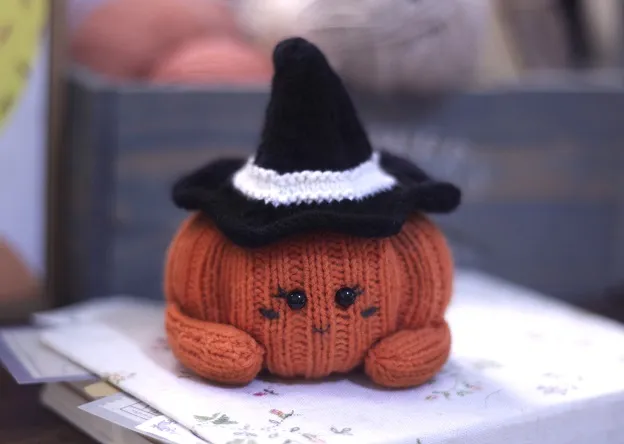
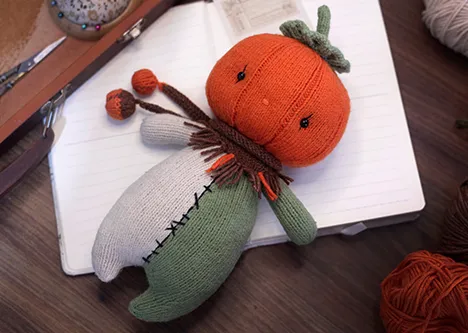
In this pattern, I will show you how to make a knitted Halloween pumpkin that you can use as a decoration or a gift for your friends and family. This pumpkin is easy to make and requires only basic knitting skills and some orange and green yarn. You will also need some stuffing, a tapestry needle, and a pair of scissors.
I will guide you through the steps of making this adorable pumpkin. You will also see how to add some details like the stem, and the face.
When finished, you will have a lovely knitted Halloween pumpkin.
The pattern is suitable for beginners as well as advanced knitters.
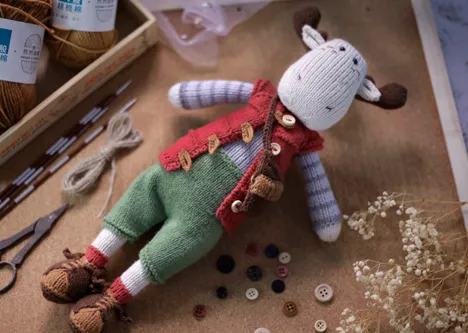
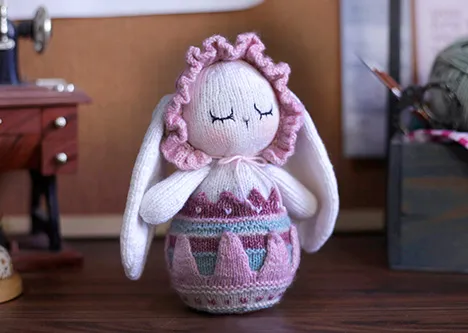
You can also customize the bunny according to your preference by changing the colors or the accessories.
NEEDLES
A pair of 2.5mm straight knitting needles
MATERIALS
Toy filling (less than 50g)
2 beads - for the eyes (5 mm)
Tapestry needle
Scissors
Sewing pins
YARN
Jeans YarnArt ( Orange 85, Green 69, White 01, Black 53)
SIZE
Finished size: The finished pumpkin and hat are 13cm
ABBREVIATIONS
K: Knit
P: Purl
KFB: (Increase) Knit front and back of stitch
K2tog: (Decrease) Knit two stitches together
KLL: (Increase) After working a knit stitch, identify the stitch 2 rows below the one on your right needle.With your left needle, come from behind to scoop up the left loop of this stitch. This loop on the left needle is the new stitch. Insert the right needle tip through the back loop and knit.
Stocking Stich (St st): Knit all stitches on right side rows, purl all stitches on wrong side rows.
st(s): Stich(es)
(...sts): The number in round brackets at the end of the instruction indicates the number of stitches after working the row.
KNITTING PATTERN
Pumpkin (Make 1)
Cast on 16 stitches with orange (Leaving a long tail for sewing).
Row 1: KFB x16 (32 sts)
Row 2: P (32 sts)
Row 3: KFB x 32 (64 sts)
Row 4: P (64 sts)
Row 5: (K2, P1) x21, K1 (64 sts)
Row 6 (Wrong side): P1, (K1, P2) x21 (64 sts)
Row 7 – Row 40: Repeat Row 5 – Row 6
Cut the orange yarn, continue knitting with the green yarn.
Row 41: K2tog x 32 (32 sts)
Row 42: K (32 sts)
Row 43: K2tog x 16 (16 sts)
Row 44: P (16 sts)
Row 45: K2tog x8 (8 sts)
Row 46 – Row 51: St st (8 sts)
Leaving a long tail for sewing, then cut the yarn.
Thread this tail through remaining stitches and pull up tightly.
Arms (Make 2)
Cast on 12 stitches with orange yarn (Leaving a long tail for sewing).
Row 1: K (12 sts)
Row 2: P
Row 3 – Row 6: St st
Row 7: K1, KFB, K8, KFB, K1 (14 sts)
Row 8 – Row 12: St st
Row 13: K1, KFB, K10, KFB, K1 (16 sts)
Row 14 – Row 18: St st
Row 19: K2tog x8 (8 sts)
Leaving a long tail for sewing, then cut the yarn.
Thread this tail through remaining stitches and pull up tightly.
Hat (Make 1)
Cast on 92 stitches with black yarn.
Row 1: P
Row 2: K1, (K13, K2tog) x6, K1 (86 sts)
Row 3: K
Row 4: K1, (K12, K2tog) x6, K1 (80 sts)
Row 5: P1, (P11, P2tog) x6, P1 (74 sts)
Row 6: K1, (K10, K2tog) x6, K1 (68 sts)
Row 7: P1, (P9, P2tog) x6, P1 (62 sts)
Row 8: K1, (K8, K2tog) x6, K1 (56 sts)
Row 9: P1, (P7, P2tog) x6, P1 (50 sts)
Cut the black yarn, continue knitting with the white yarn.
Row 10: K (50 sts)
Row 11 (Wrong side): K
Row 12: K1, (K6, K2tog) x6, K1 (44 sts)
Row 13: P
Row 14: K
Row 15 (Wrong side): K
Cut the white yarn, continue knitting with the black yarn.
Row 16: K1, (K5, K2tog) x6, K1 (38 sts)
Row 17 – Row 19: St st
Row 20: K1, (K4, K2tog) x6, K1 (32 sts)
Row 21 – Row 23: St st
Row 24: K1, (K3, K2tog) x6, K1 (26 sts)
Row 25 – Row 27: St st
Row 28: K1, (K2, K2tog) x6, K1 (20 sts)
Row 29 – Row 31: St st
Row 32: K1, (K1, K2tog) x6, K1 (14 sts)
Row 33 – Row 35: St st
Row 36: k2tog x7 (7 sts)
Leaving a long tail for sewing, then cut the yarn.
Thread this tail through remaining stitches and pull up tightly.
SEWING & MAKING UP
Pumpkin
We will sew and making up the pumpkin as show in this video (Using Mattress Stitch to sew)
Arms and Hat
We will sew the arms, attach them to the pumpkin and sew the hat as show in this video:
If you enjoyed this video and found it helpful, give it a thumbs up and subscribe to my channel for more knitting tutorials. And don't forget to share your photos of your finished dolls with me on Instagram using the hashtag #Cheryx.Knitadream. I can't wait to see your creations!
------------------------------------------------------------------------------
Treat-or-Trick? Happy Halloween!

✿ If you love my free patterns,tips and tutorial videos and you would like to support , you can Buy Me A Coffee. I really appreciate your support, it's my motive and I will try to do more. Thank you so much!